Craving that shatteringly Asian crispy pork belly?
After many fails, I found a simple, mess-free method for Thịt Heo Quay (Vietnamese crispy pork belly) that takes under 3 hours—and it actually works.
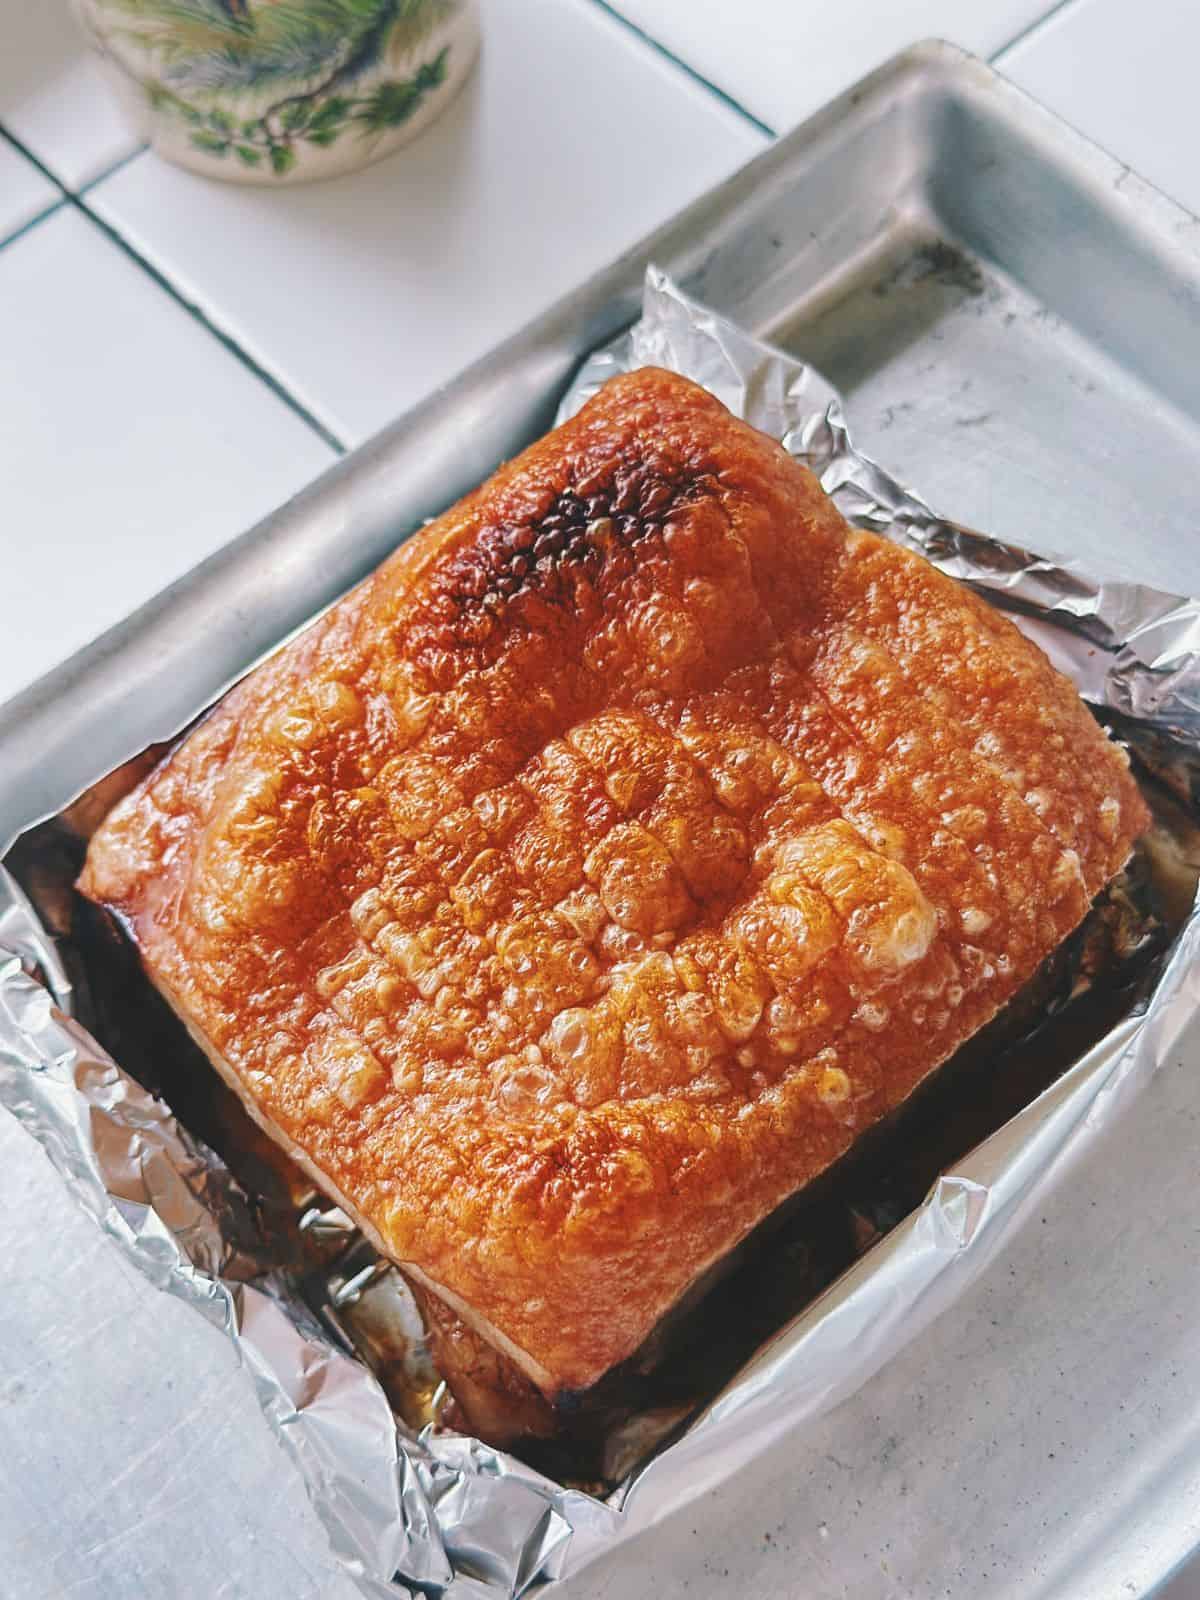
The Science Behind That Crispy, Puffy Pork Skin
That golden, crackly pork skin you see in restaurants? It’s not just luck or fancy kitchen tools—it’s all about knowing how pork skin reacts to heat, moisture, and fat.
Once you understand the process, crispy pork belly becomes totally doable at home.
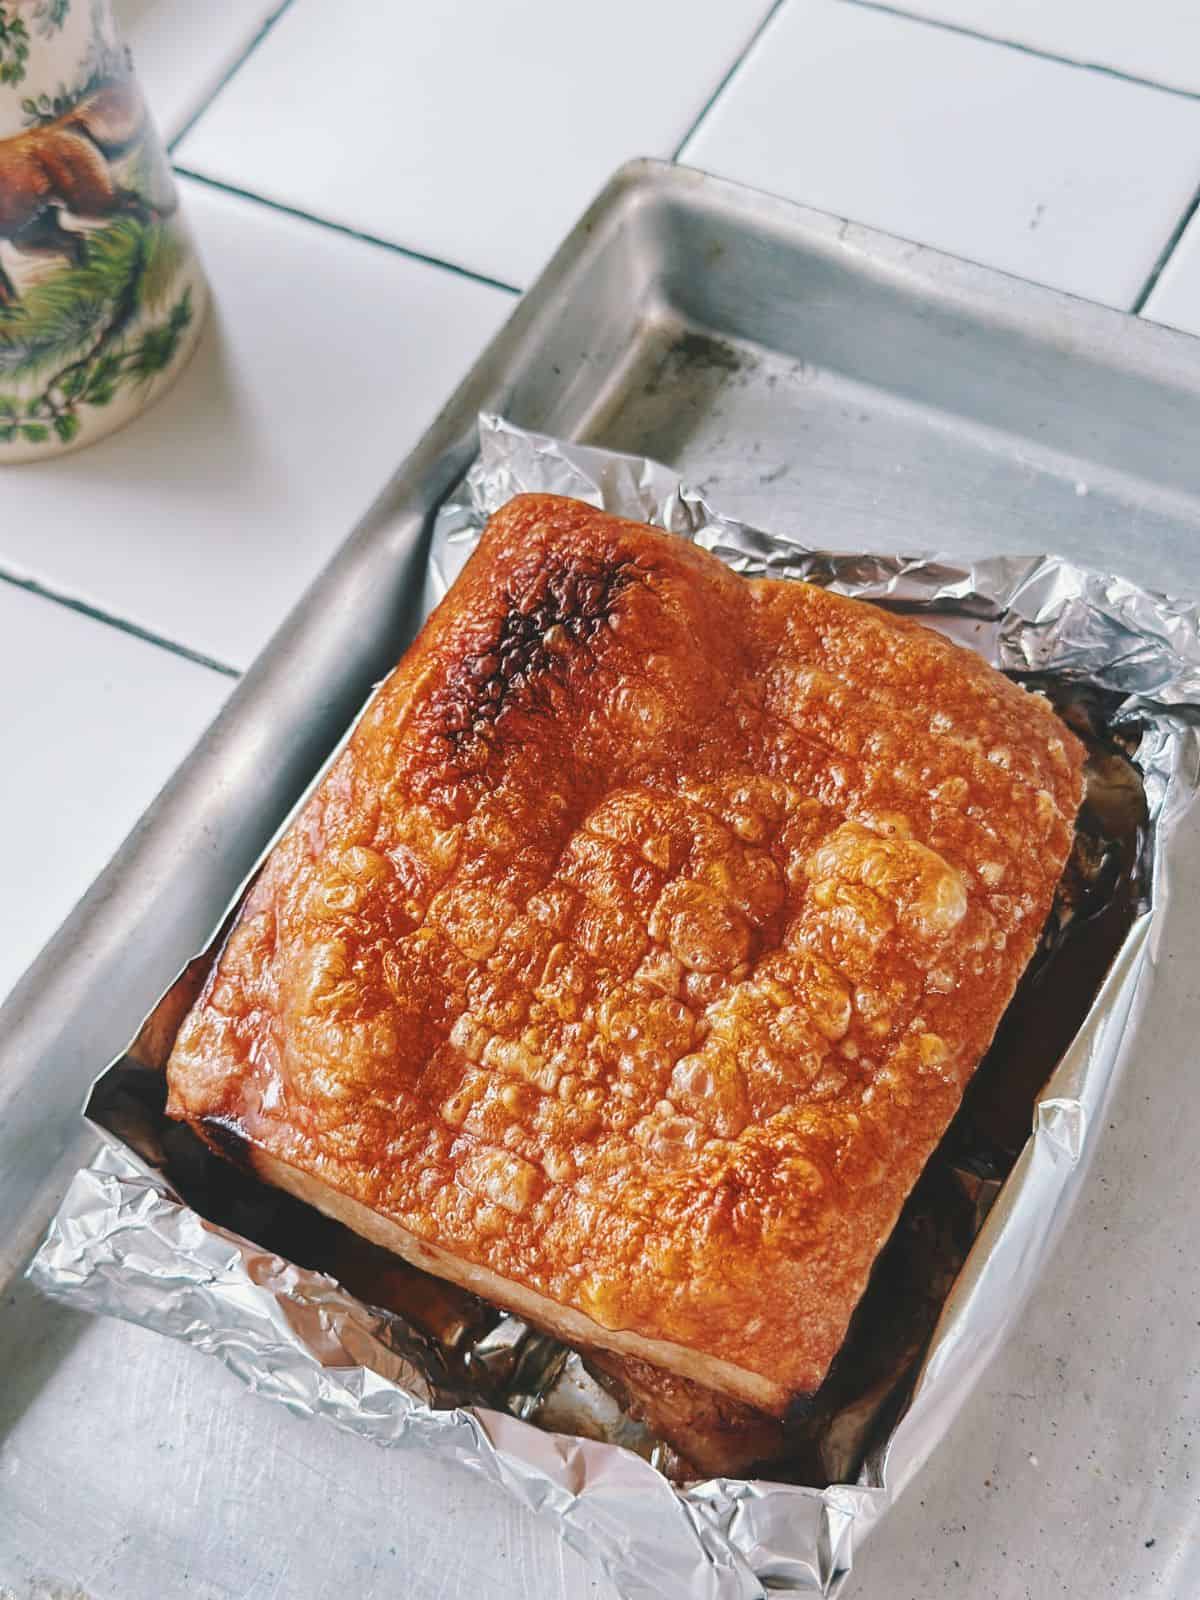
Pick the Right Cut
Start with pork belly that has flat, even skin—about 2–3 mm (about 1/8 inch) thick. A nice fat layer underneath helps the skin puff and crackle.
Uniform thickness means no rubbery or burnt spots—just crispy, golden perfection.
Dry the Skin – Moisture Is the Enemy
Pork skin naturally holds a lot of water, and moisture is the biggest roadblock to crispiness. The drier the skin, the better it can blister, puff, and crackle in the oven.
How to dry out the skin
Blanching/Boiling: Softens skin, opens pores, and makes it easier to poke.
Baking Powder/Vinegar: Break down collagen, speed up drying; baking powder boosts browning.
Poking/Scratching: Lets steam escape for blistering.
Salt: Pulls out moisture.
Drying: Pat dry, fridge overnight, low oven, or fan—just get it really dry.
Roast Smart—Use Heat in Two Stages
It’s not just about drying—the heat stages matter too.
- Stage 1 – Gentle Heat (~160°C / 320°F): Slowly melts fat, basting the meat and prepping the skin for bubbles without burning.
- Stage 2 – High Heat (>200°C / 390°F): Blasts out moisture, puffs the skin, and browns it for that golden, savory finish.
So in short:
Right cut + dry skin + open pores + rendered fat + high heat = crispy, crackly, beautiful pork belly skin.
How I Developed This Recipe
Most crispy pork belly recipes use a mix of tricks to dry out the skin—the more you do, the better your chances. But let’s be real: a lot of those steps take forever or feel wasteful (like piling on a thick salt crust, only to throw it all away).
I wanted a simpler, more practical way. Something that gets you crispy pork belly in under 3 hours, start to finish.
Here’s what I do:
I start by blanching the pork—it helps soften the skin, open up the pores, and reduce that raw pork smell.
After that, I soak just the skin side in a bit of vinegar, pat it dry, gently scratch the surface with a knife (optional), then rub on a mix of salt and baking powder.
I let it sit for a few minutes so the salt can draw out the moisture, then give it a final pat dry. That’s it—the skin’s now prepped and ready to bubble and blister in the oven. No fancy tools, no fuss.
Ingredients
- A good, evenly thick cut of pork belly
- Salt
- Baking powder (optional)
- Vinegar
- Cooking oil
For the marinade:
As for the marinade, I keep it simple. Thịt Heo Quay in Vietnam is usually seasoned with whatever you already have in the pantry — unlike Siu Yuk, the Cantonese version, which uses specialty ingredients like fermented tofu to achieve its signature flavor.
- Salt
- Hoisin sauce
- Five-spice powder
- Garlic powder
Instructions
Step 1: Blanch the Pork
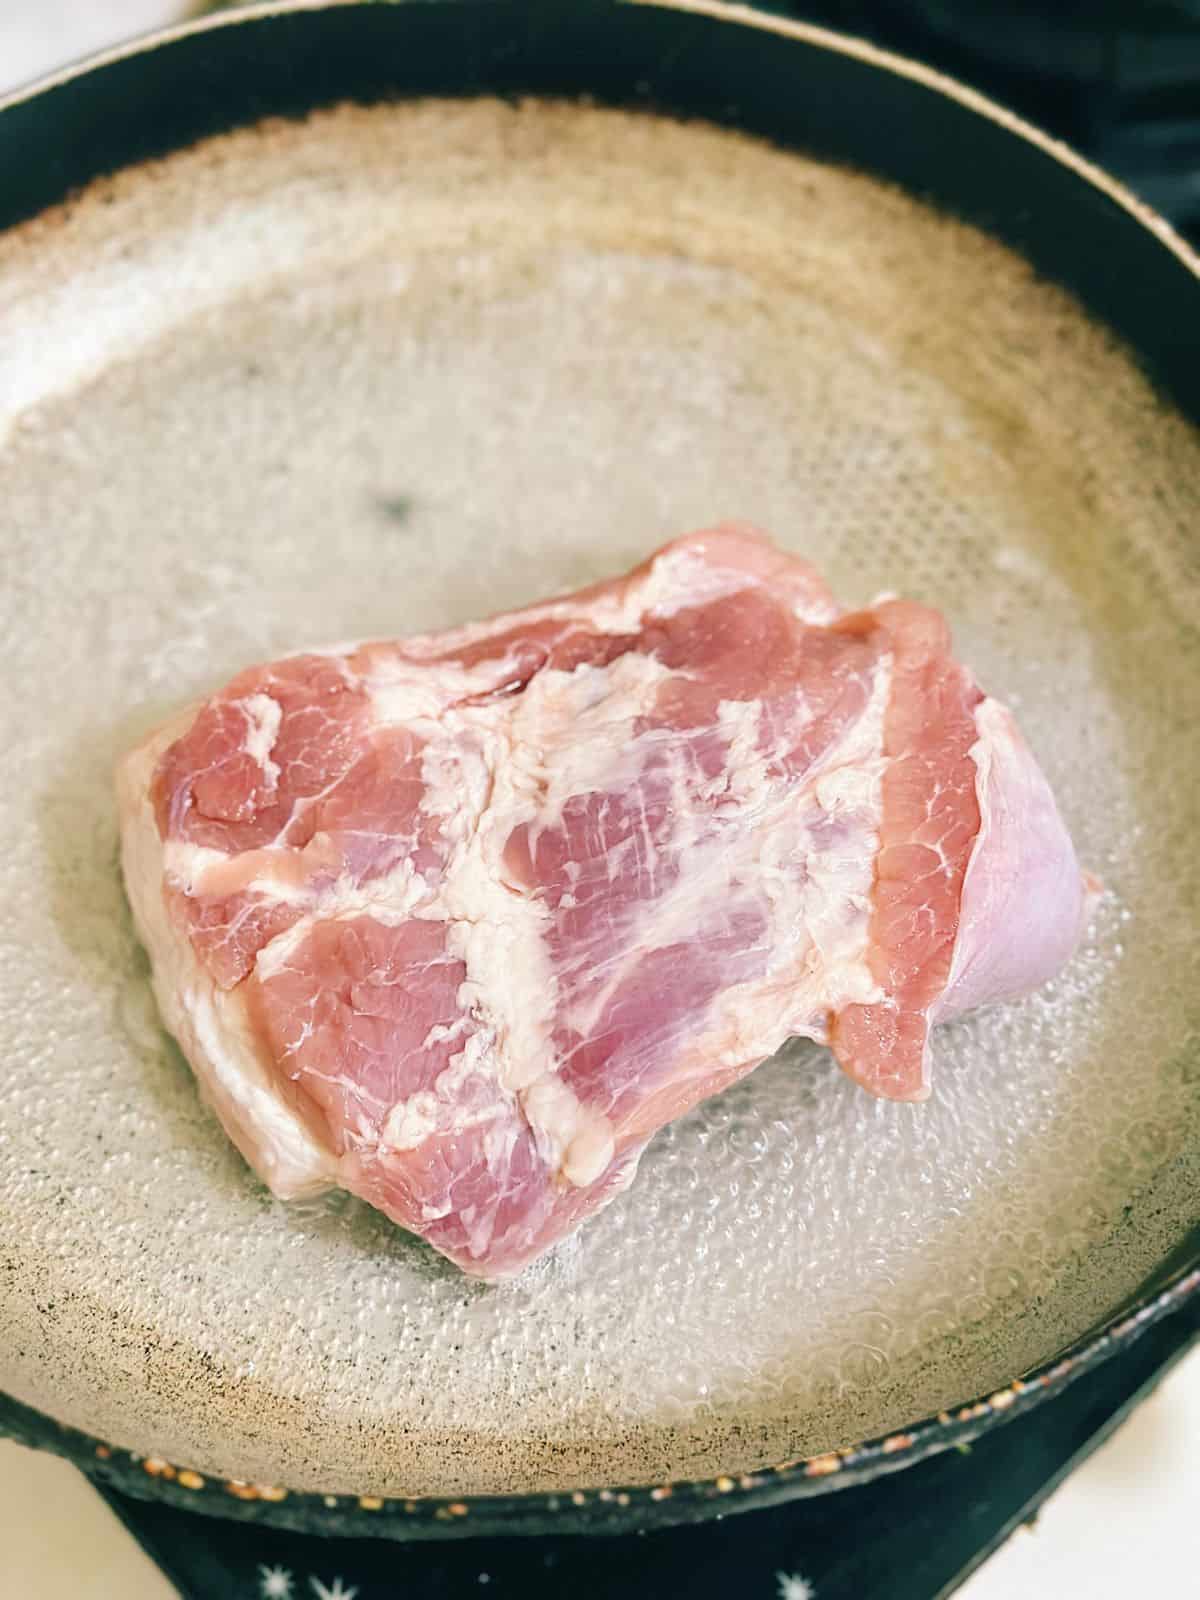
- Place the pork belly skin-side down in boiling water and blanch for about 1 minute. This softens the skin and helps remove any porky smell.
- Take it out, pat it dry, and make a few shallow cuts into the lean part—this makes slicing easier after roasting.
Step 2: Prepare for Roasting
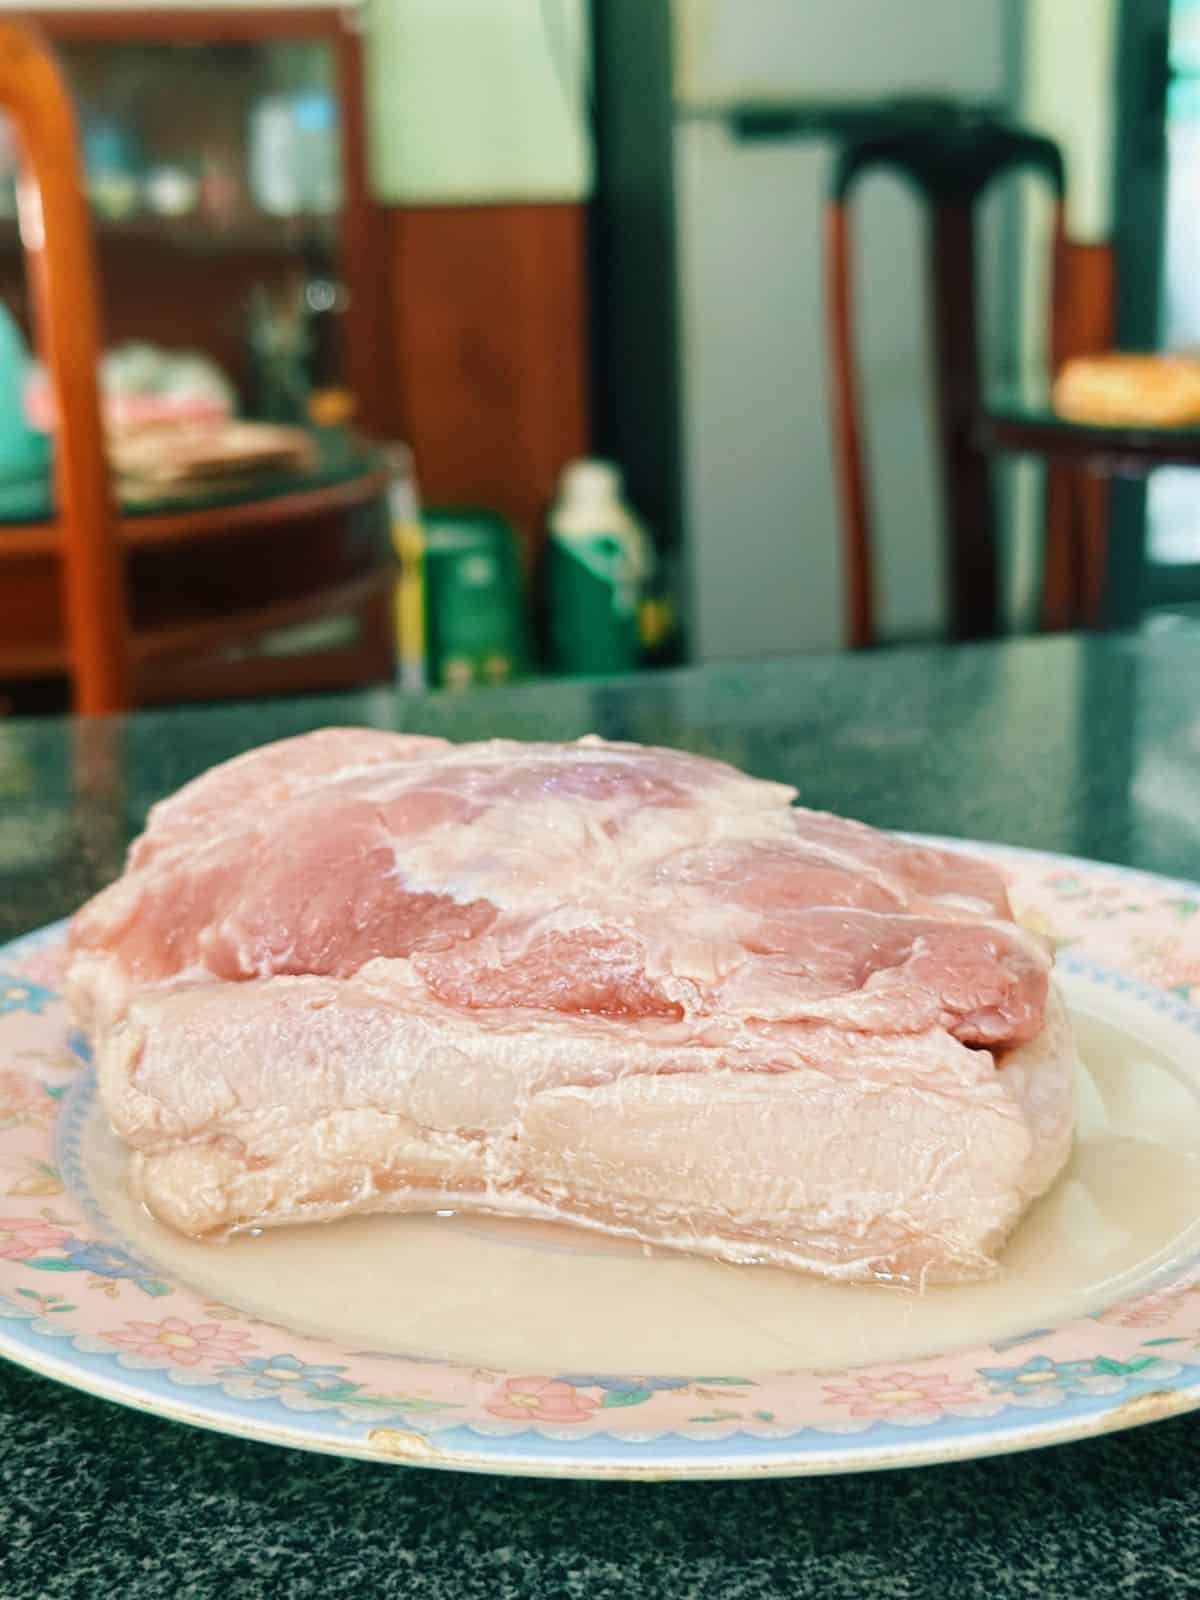
- Set the pork belly skin-side down in a shallow tray and pour in just enough vinegar to soak the skin. Let it sit like that for 30 minutes.
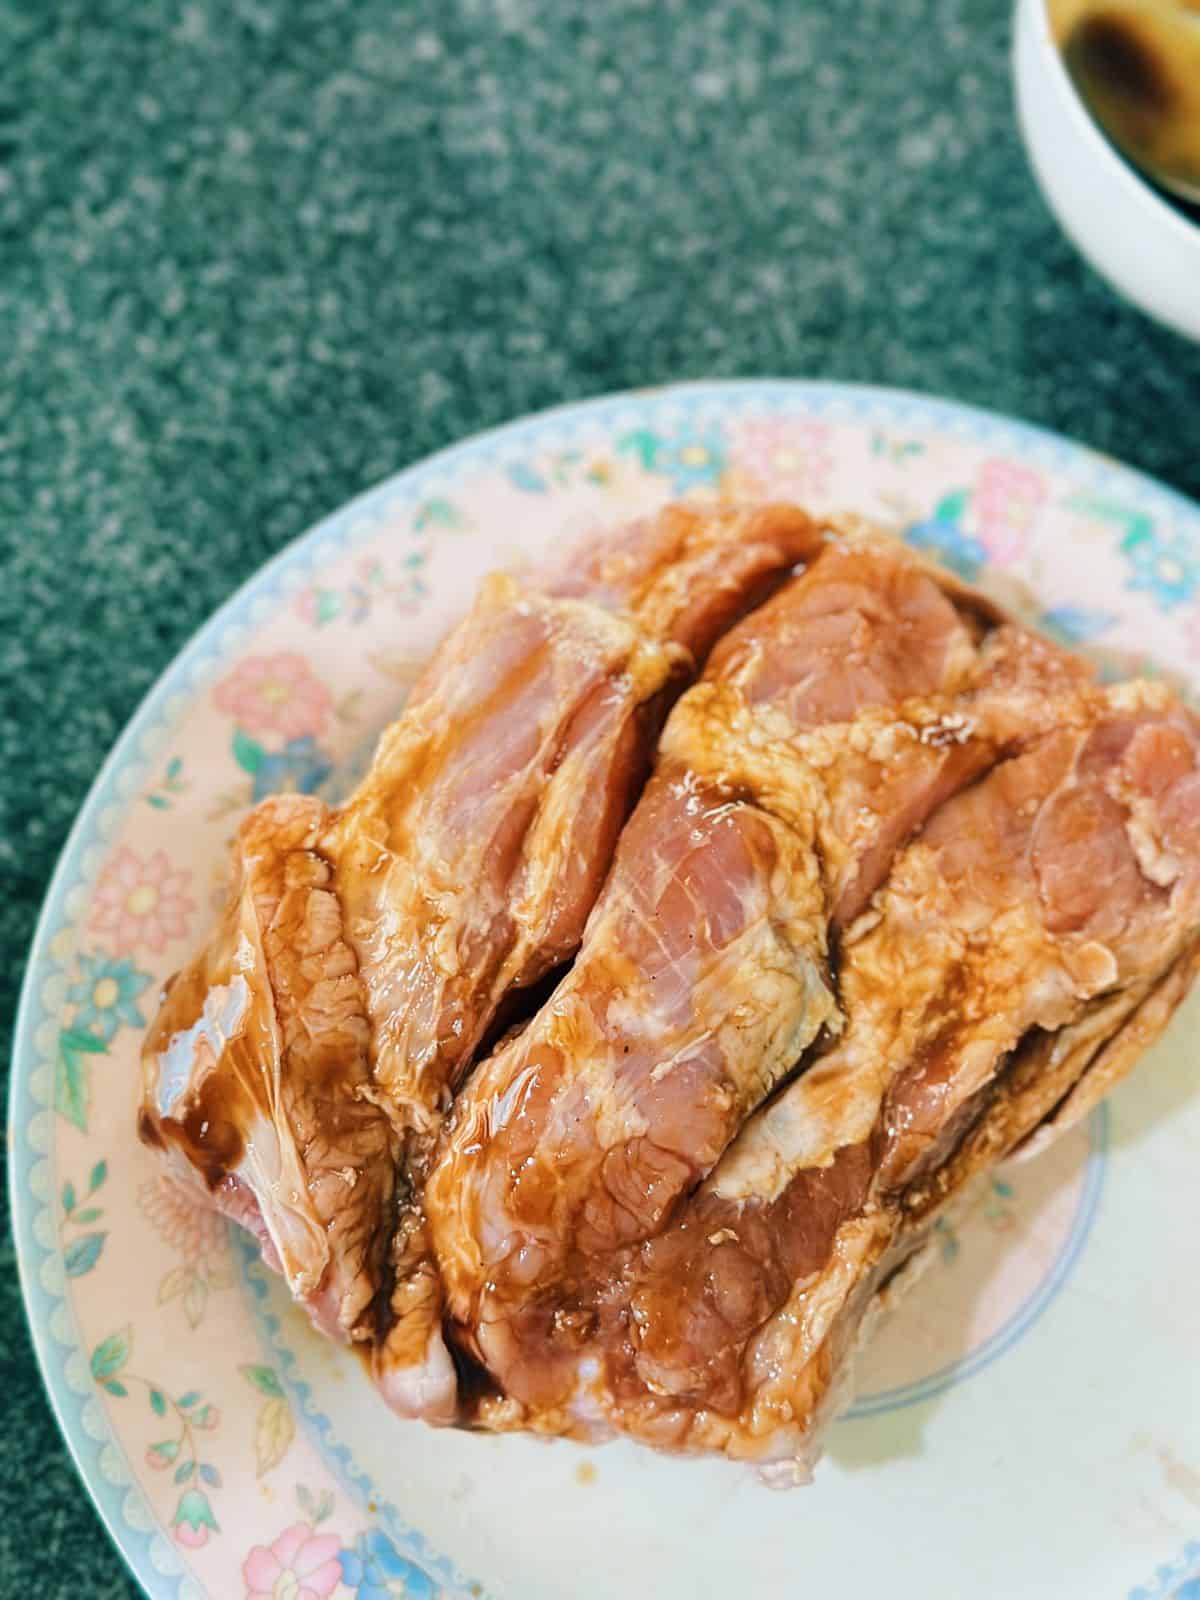
Step 3: Marinate the Lean Side
- Mix all the marinade ingredients. After soaking, rub it into the meat side only.
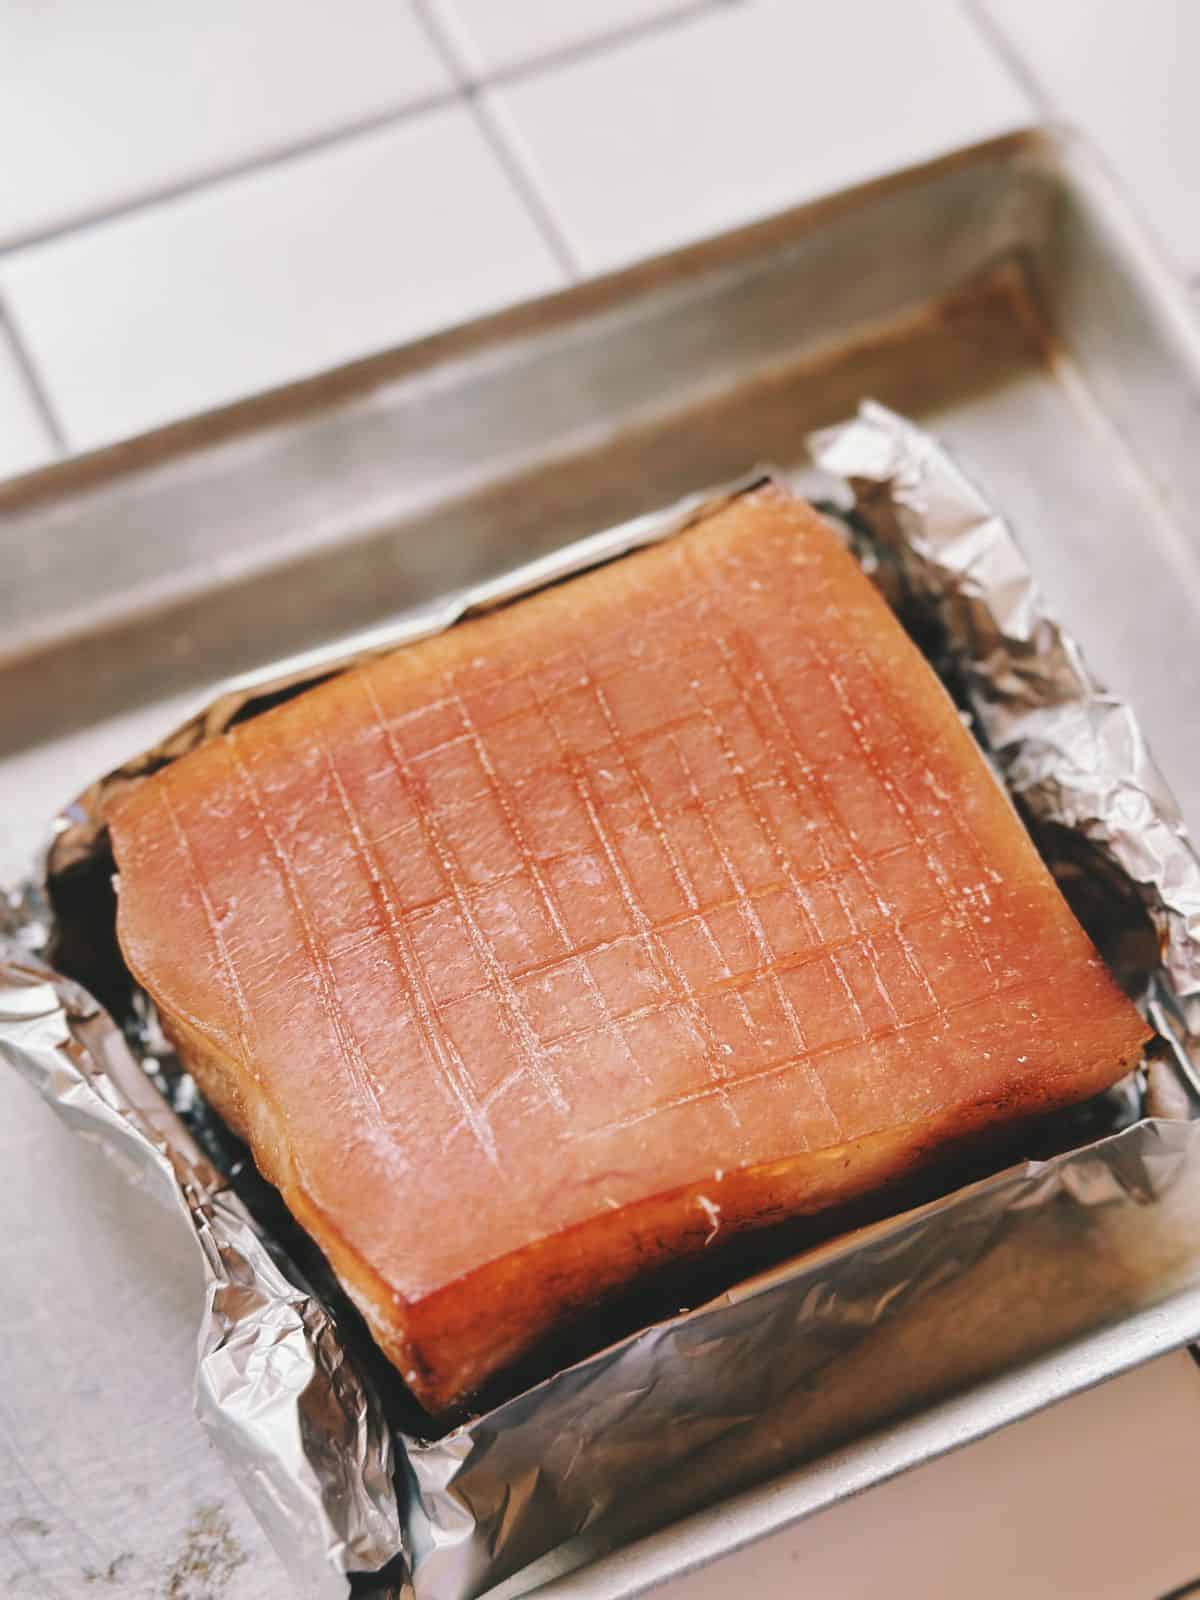
- Place the pork belly on a piece of aluminum foil. Wrap the foil around the meat part, leaving the skin exposed. If your pork belly isn’t evenly thick, you can place a slice of onion or a folded piece of foil underneath to level it
Step 4: Dry & Score the Skin
- Pat the skin completely dry. Lightly scratch a criss-cross pattern onto the surface with a knife—don’t cut too deep.
- Rub a mix of salt and baking powder (or just salt) over the skin. Let it sit for 10 minutes to draw out moisture. Then pat it really dry again. This step is key for that blistery, bubbly crust.
Step 5: Roast
- Preheat the oven to 160°C / 320°F. Roast the pork belly on the middle rack for 45 minutes.
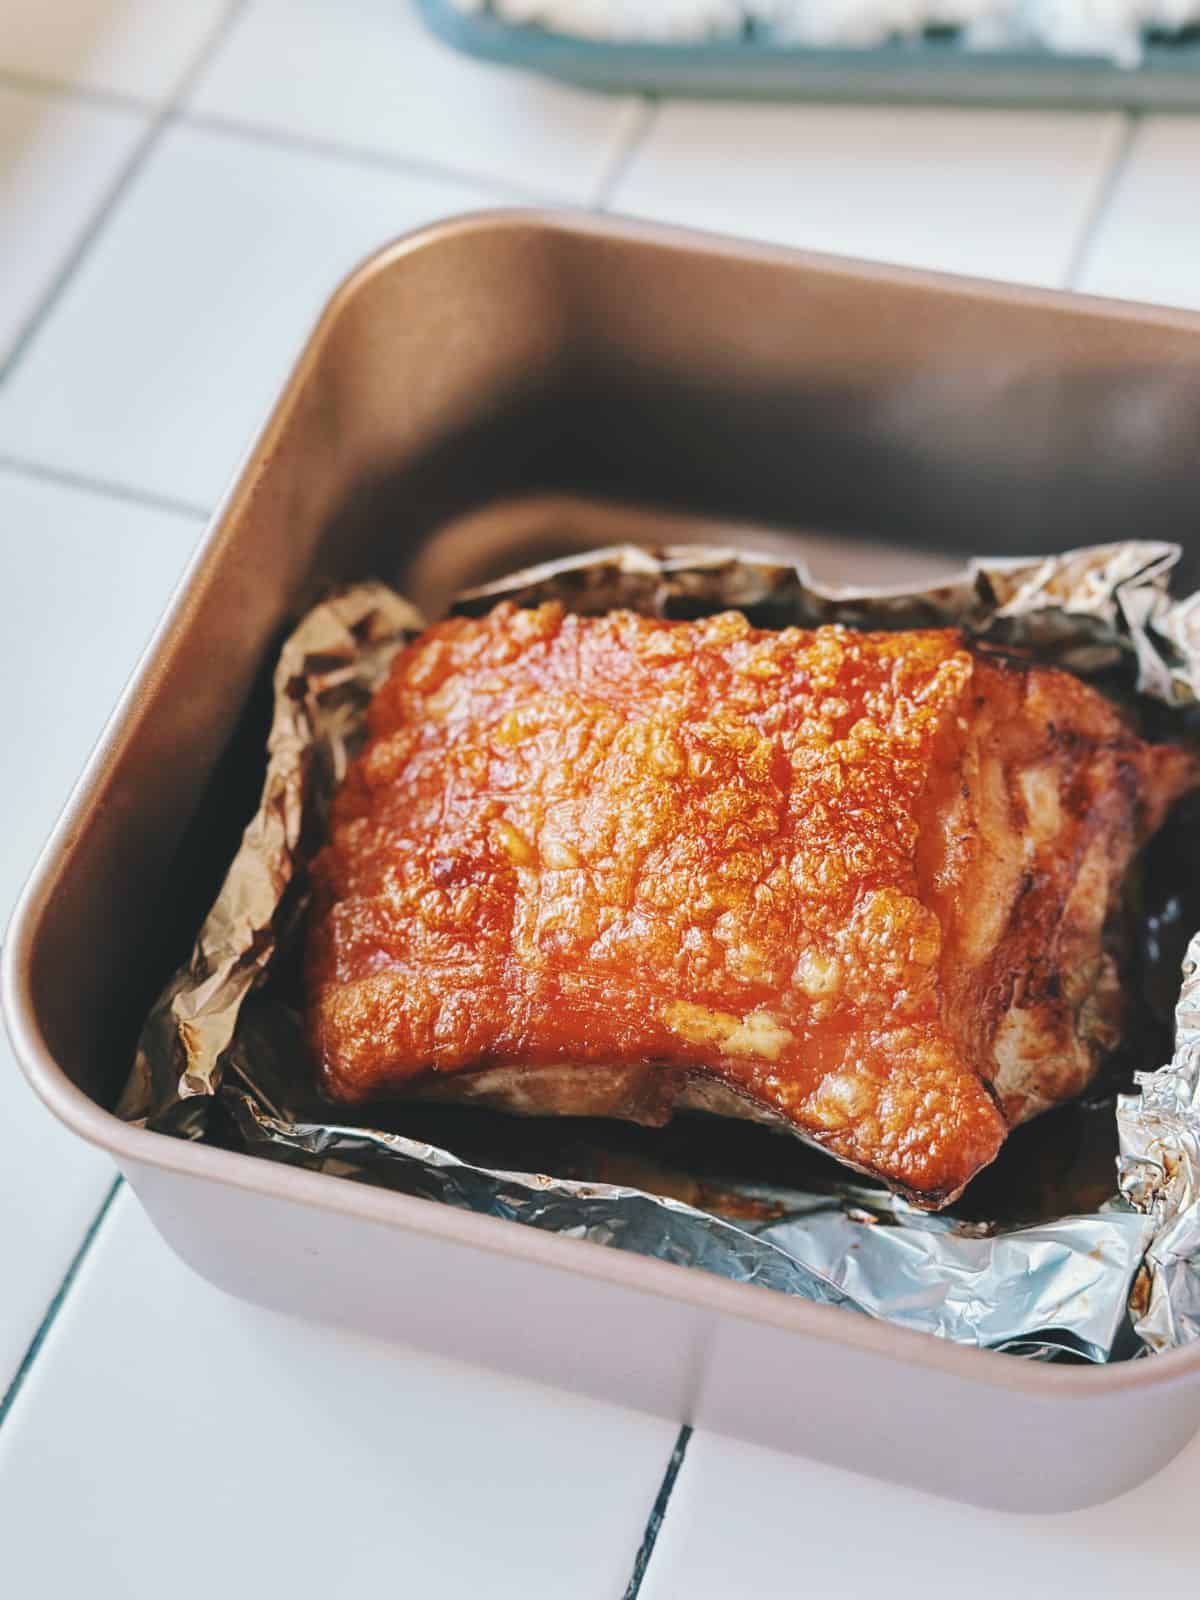
- Remove from the oven and brush a thin layer of oil on the skin. Move the pork belly to the highest rack. Broil at 200–220°C / 392–428°F with fan for 15–20 minutes, or until the skin puffs up and turns golden.
- Keep an eye on it! If some spots crisp up too quickly, cover those parts with foil and let the rest catch up.
Step 6: Rest & Serve
- Let the pork belly rest for 15 minutes before slicing. This helps lock in the juices. Then cut it into bite-sized pieces and enjoy that glorious crunch!
How to Store
- Fridge: Loosely wrap in foil or store in an airtight container for 3–4 days. Don’t trap steam if the skin is still crispy.
- Freezer: Freeze in portions in airtight containers or bags (remove air). Keeps up to 1 month.
How to Reheat
- With Oven: Heat at 160–170°C (320–340°F) for 10–15 mins, then broil 1–3 mins to re-crisp the skin.
- With Air Fryer: Air-fry at 180°C (350°F) for 5–7 minutes, skin side up — ideal for small pieces and quickly restores that crispy crackle.
How to Serve Crispy Pork Belly (Thịt Heo Quay / Siu Yuk)
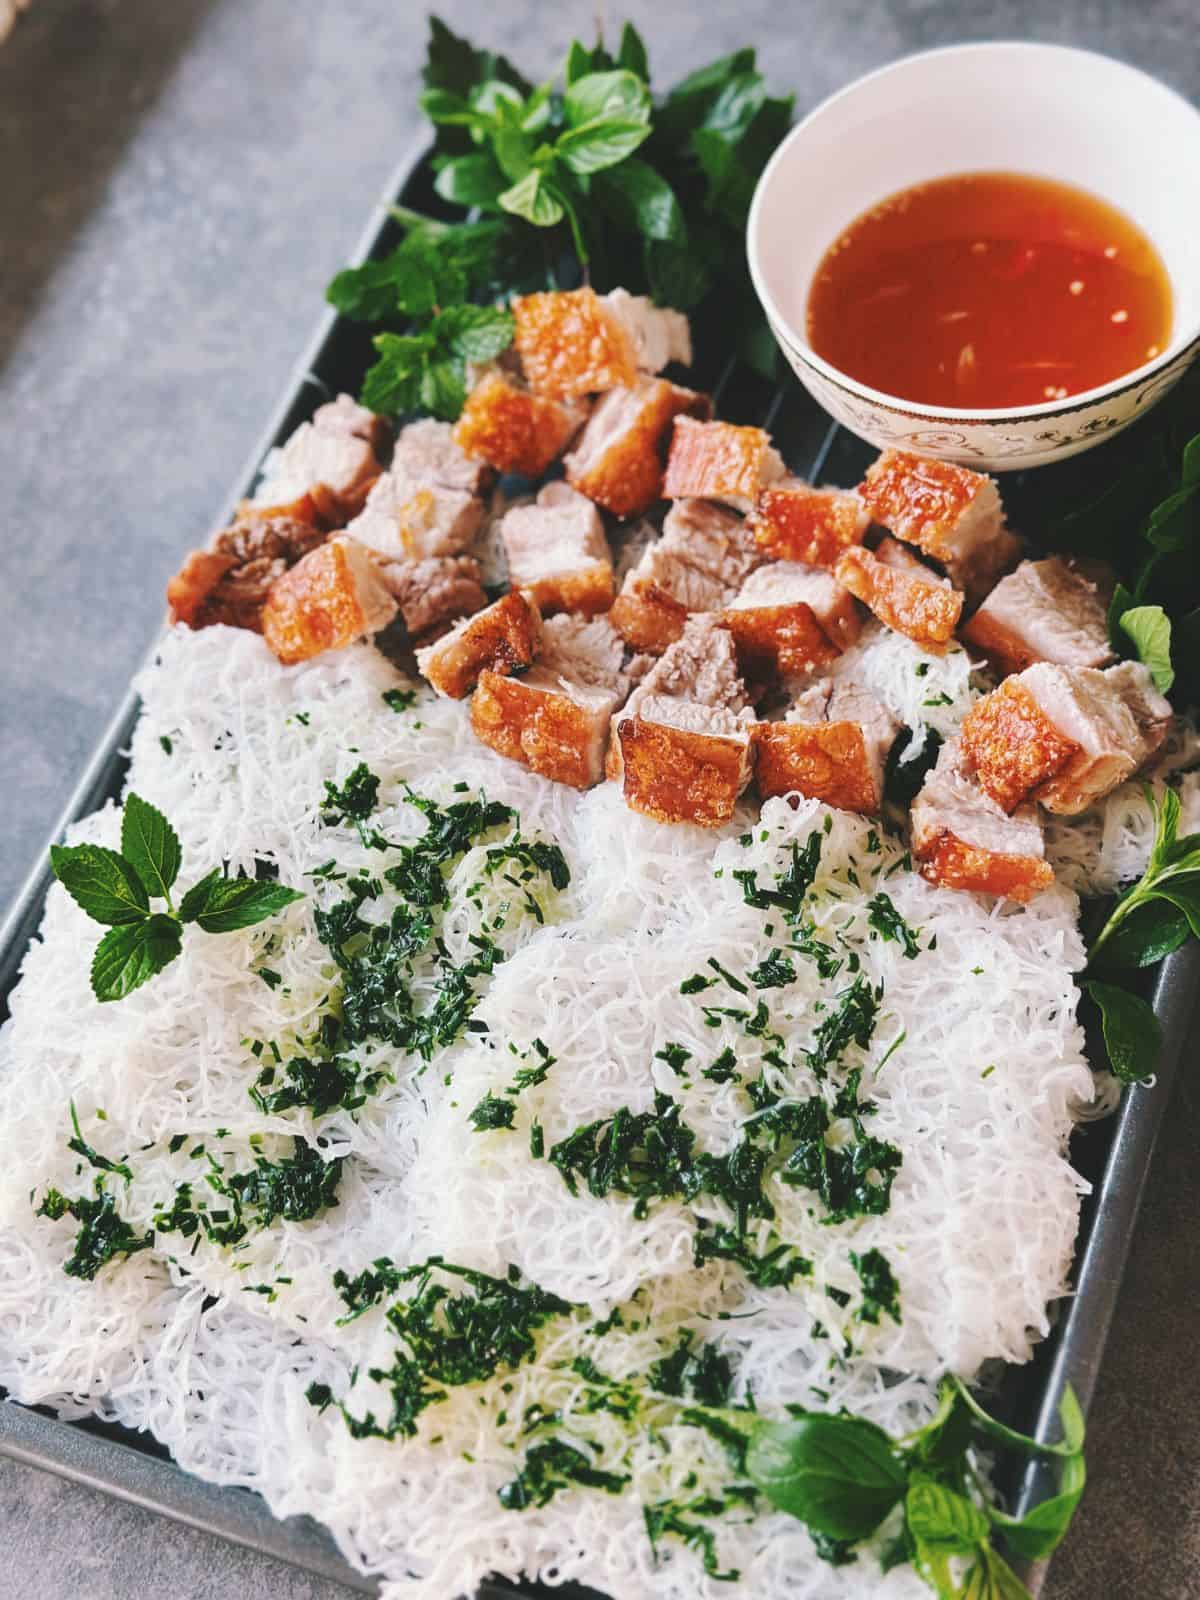
Vietnamese Style
Cantonese Style
On the Side
More Tasty Vietnamese Pork Recipes

(Hanoi rice noodles with grilled pork)

(braised pork & eggs in coconut water)

(Vietnamese steamed rice rolls)

Crispy Pork Belly – Thịt Heo Quay (Quick !)
Ingredients
- 2.2 lbs pork belly (1kg, with an even fat layer and smooth skin)
For Skin Treatment
- white vinegar (enough to soak the skin)
- 1 tsp fine salt
- ¼ tsp baking powder (optional)
- A little cooking oil
For Marinade (meat side only)
- 1½ tsp salt (adjust to taste)
- 2 tsp hoisin sauce (adjust to taste)
- 1 tsp five spice powder
- 1 tsp garlic powder
Instructions
- Place pork belly (skin-side down) in boiling water. Blanch for 1 minute to soften the skin and remove any odor. Pat dry. Make a few shallow cuts in the lean meat (not through to the skin) to make slicing easier after roasting.
- Place pork belly skin-side down in a shallow tray. Add enough white vinegar to cover just the skin. Let it soak for 30 minutes.
- Rub marinade onto the meat side only. Place pork belly on aluminum foil, wrap the foil around the meat—leave the skin exposed. If uneven, level it out using onion slices or folded foil underneath.
- Pat the skin completely dry. Lightly score a shallow criss-cross pattern with a knife. Rub the skin with the salt mixture. Let sit for 10 minutes to draw out moisture, then pat dry again.
- Preheat oven to 160°C / 320°F. Roast pork belly in the middle rack for 45 minutes.
- Brush a thin layer of oil over the skin. Move pork belly to the top rack. Broil at 200–220°C / 392–428°F with fan for 15–20 minutes, or until skin blisters and turns golden.Tip: Cover overly crispy spots with foil to let the rest catch up.
- Let rest for 15 minutes. Then slice into bite-sized pieces. Enjoy that satisfying crunch!

