Nothing beats the smell of freshly baked bread. I’m hooked on Shokupan, Japanese milk bread so soft it feels like a cloud—thanks to the simple but magical Yudane method.
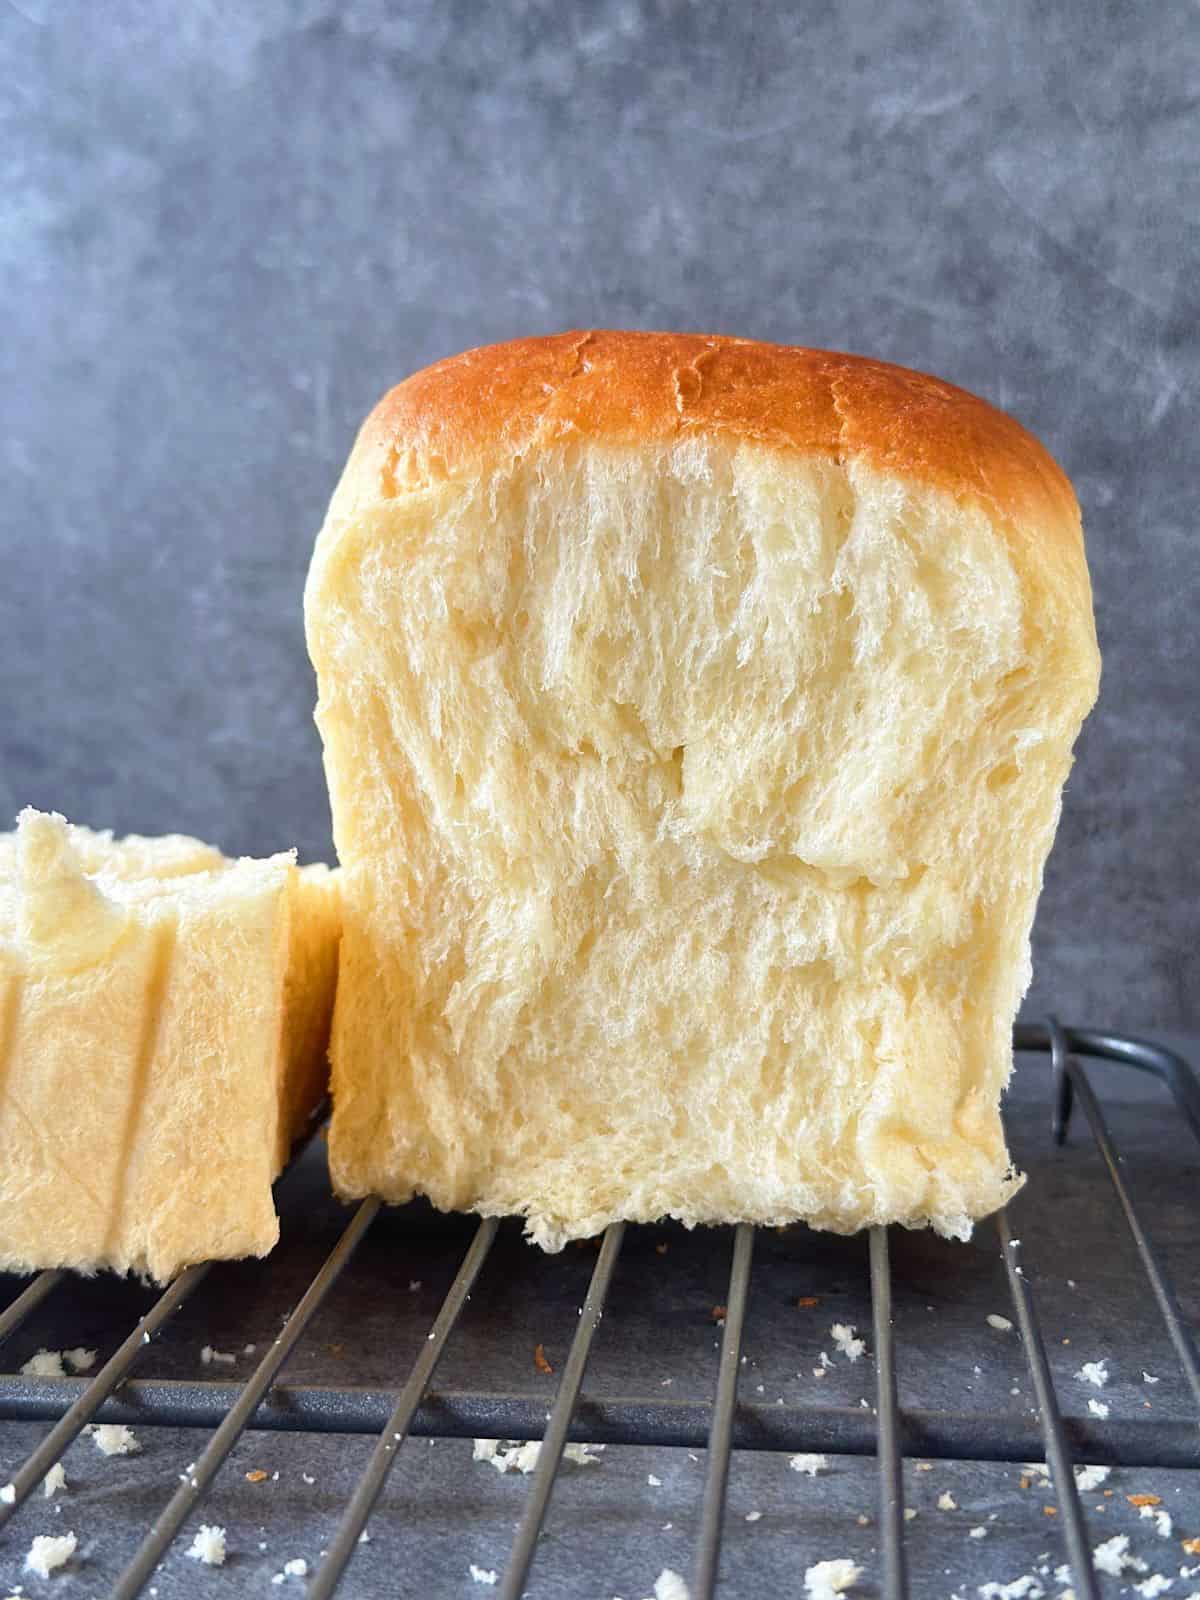
Making Shokupan Extra Fluffy—My Favorite Method
If you’re in a hurry and just want to get cooking, feel free to jump into the recipe card.
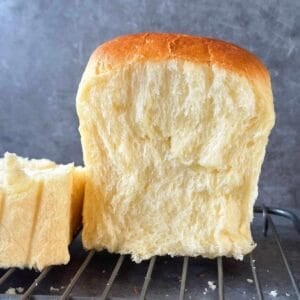
Shokupan (食パン) is a soft, pillowy, slightly sweet bread popular across Asia. Less sweet than Hokkaido Milk Bread, it’s perfect for savory sandwiches like tamago sando or katsu sando.
This recipe is versatile. Bake it in a regular loaf or pullman pan for sandwich bread, or get creative—Anpan, Melon Pan, Char Siu buns, pork floss buns, even hot dog buns. It’s a soft, fluffy base for almost anything!
What is Yudane?
Asian bakers often use many tricks like sponge, poolish, Tangzhong, or Yudane to make it extra soft.
Yudane is a Japanese bread-making method where a portion of flour is scalded with boiling water, then cooled and added to the dough. This process gelatinizes the starch, allowing the bread to hold more moisture.
The result is soft, fluffy bread with a slightly chewy texture and longer shelf life. Unlike tangzhong, which is cooked into a roux, yudane is simply mixed with hot water.
Ingredients
For the Yudane
- Bread flour
- Boiling water (use a 5:6 ratio of flour to water)
For the Main Dough
- Bread flour
- Egg
- Granulated sugar
- Whole milk
- Skimmed milk powder (adds extra richness and softness)
- Instant yeast
- Butter
- A pinch of salt
Instructions
Step 1 – Make the Yudane (the night before)
- Mix bread flour with boiling water at a 5:6 ratio. Pour the boiling water straight over the flour and stir quickly until no dry bits remain. Let it cool, then cover and refrigerate overnight.
Step 2 – Make the Dough
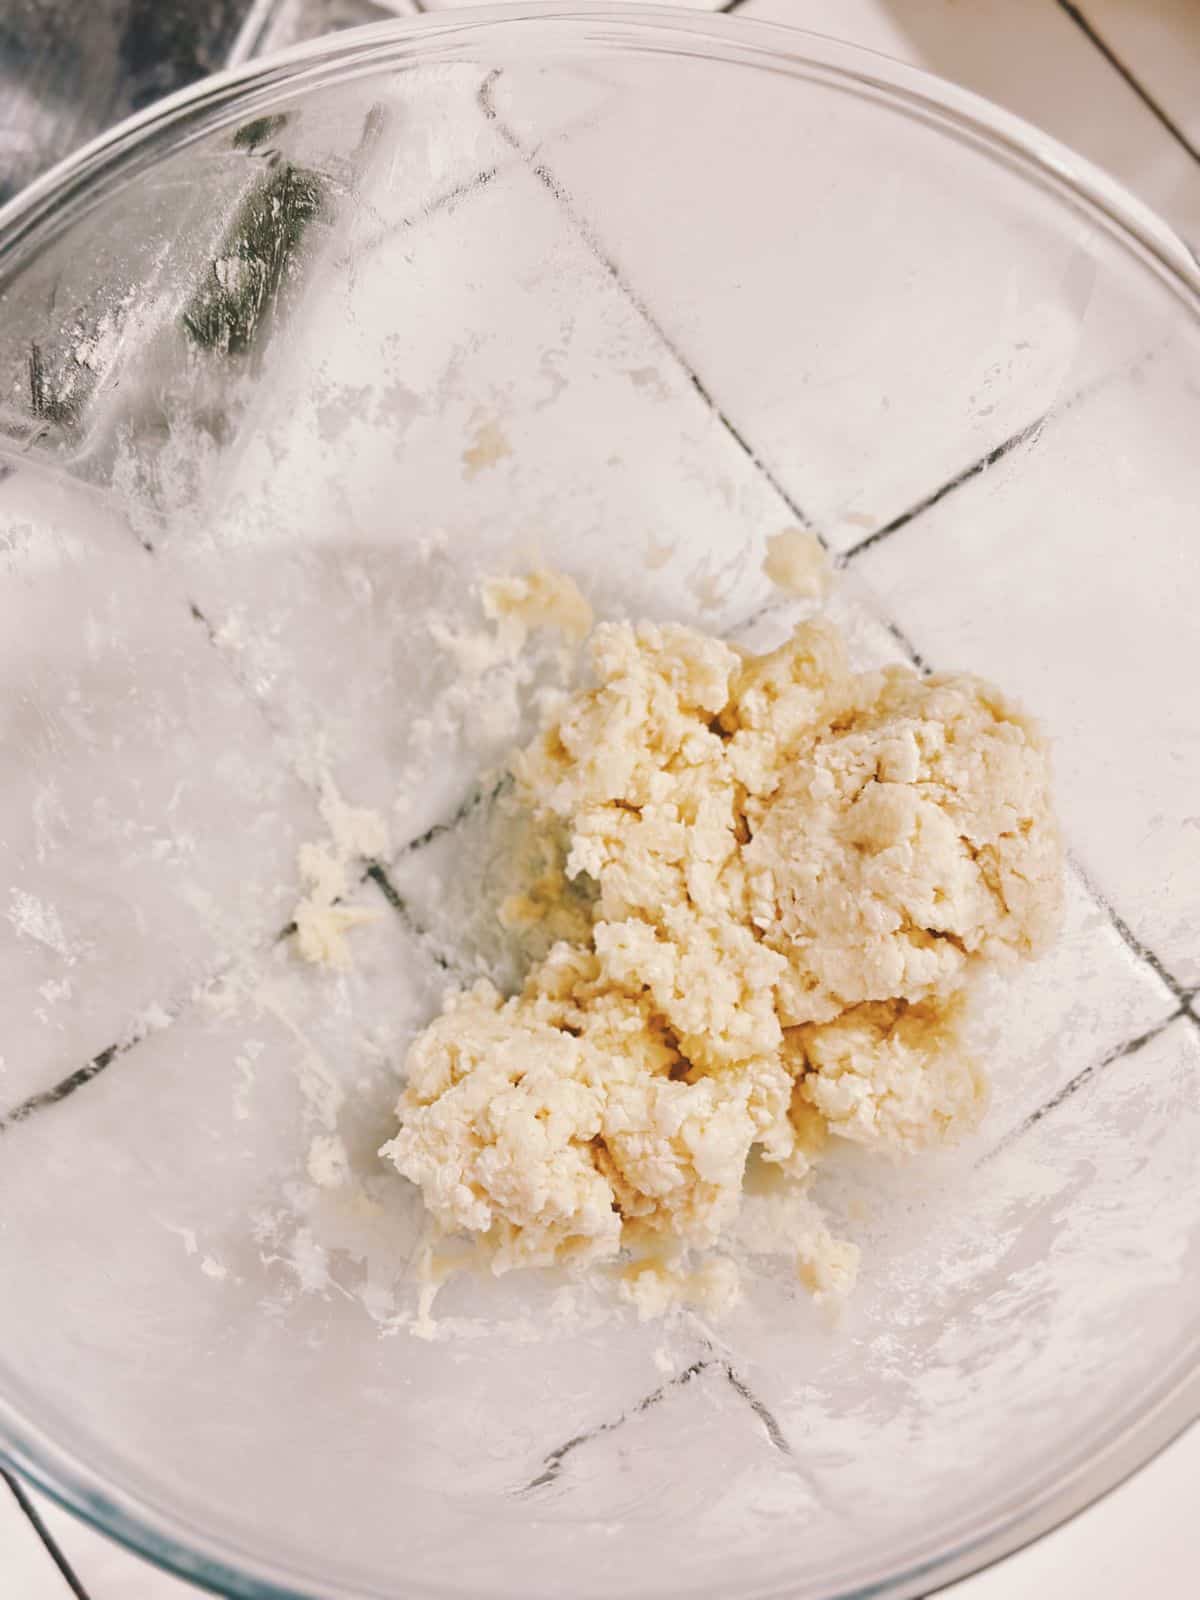
- In a mixing bowl, combine the remaining flour, milk, skimmed milk powder, egg, sugar, salt, yeast, and the chilled yudane (cut into small pieces with scissors so it blends in easier). If you’re using active dry yeast, dissolve it in the lukewarm milk from the recipe first.
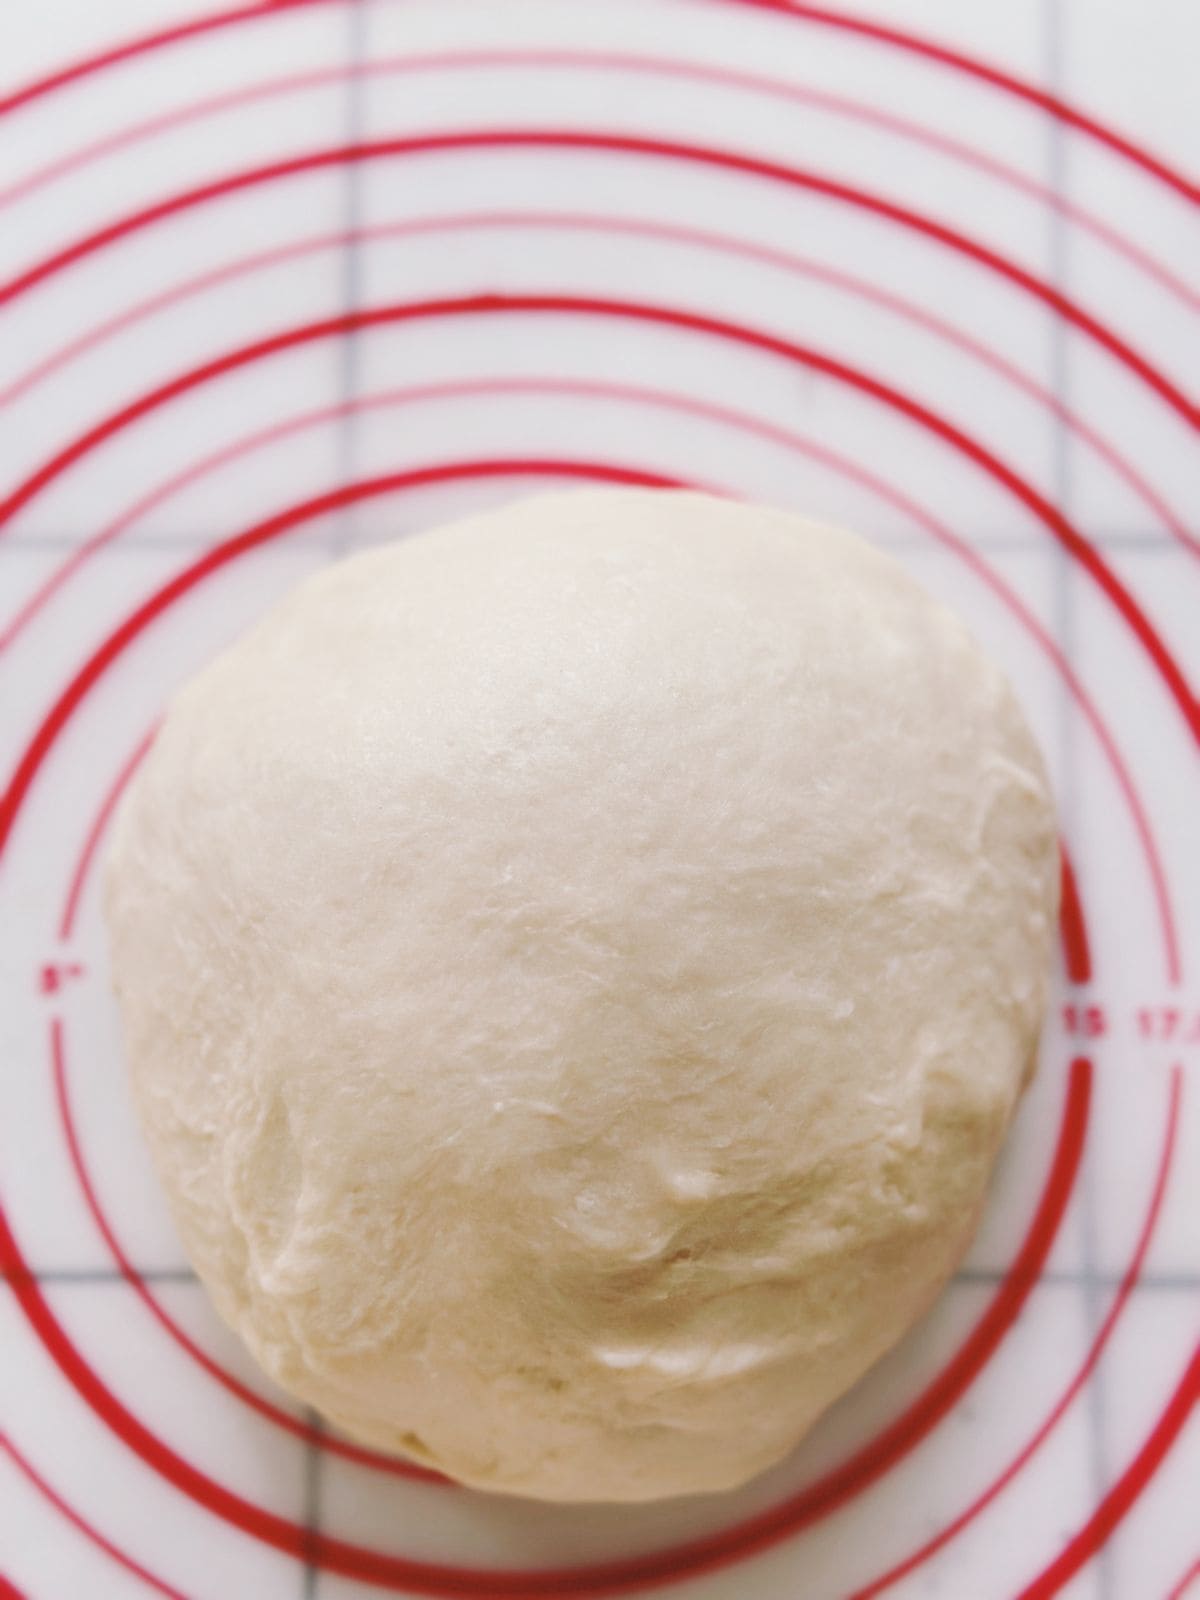
- Knead until the dough starts to build gluten, then add the softened butter. Keep kneading until the dough is smooth, elastic, and pulls away from the sides of the bowl.
Step 3 – First Rise
- Cover the bowl and let the dough rise in a warm, draft-free spot until it’s about 1.5–2 times its size (usually around 1 hour). A cozy trick is placing it in the oven with a bowl of hot water—it makes the perfect proofing box.
Step 4 – Shape the Bread Loaf
- Punch down the dough to release the big air bubbles, then divide it into two equal parts.
- Pat or roll one piece into a rectangle and roll it up into a snug log. With the smooth side down, pat or roll it into a rectangle again—this time about the width of your loaf pan.
- Starting from the short side, roll it tightly into a log, keeping even tension so the loaf rises tall instead of spreading wide. Pinch the seams and tuck the ends underneath. Repeat with the second piece.
Step 5 – Second Rise
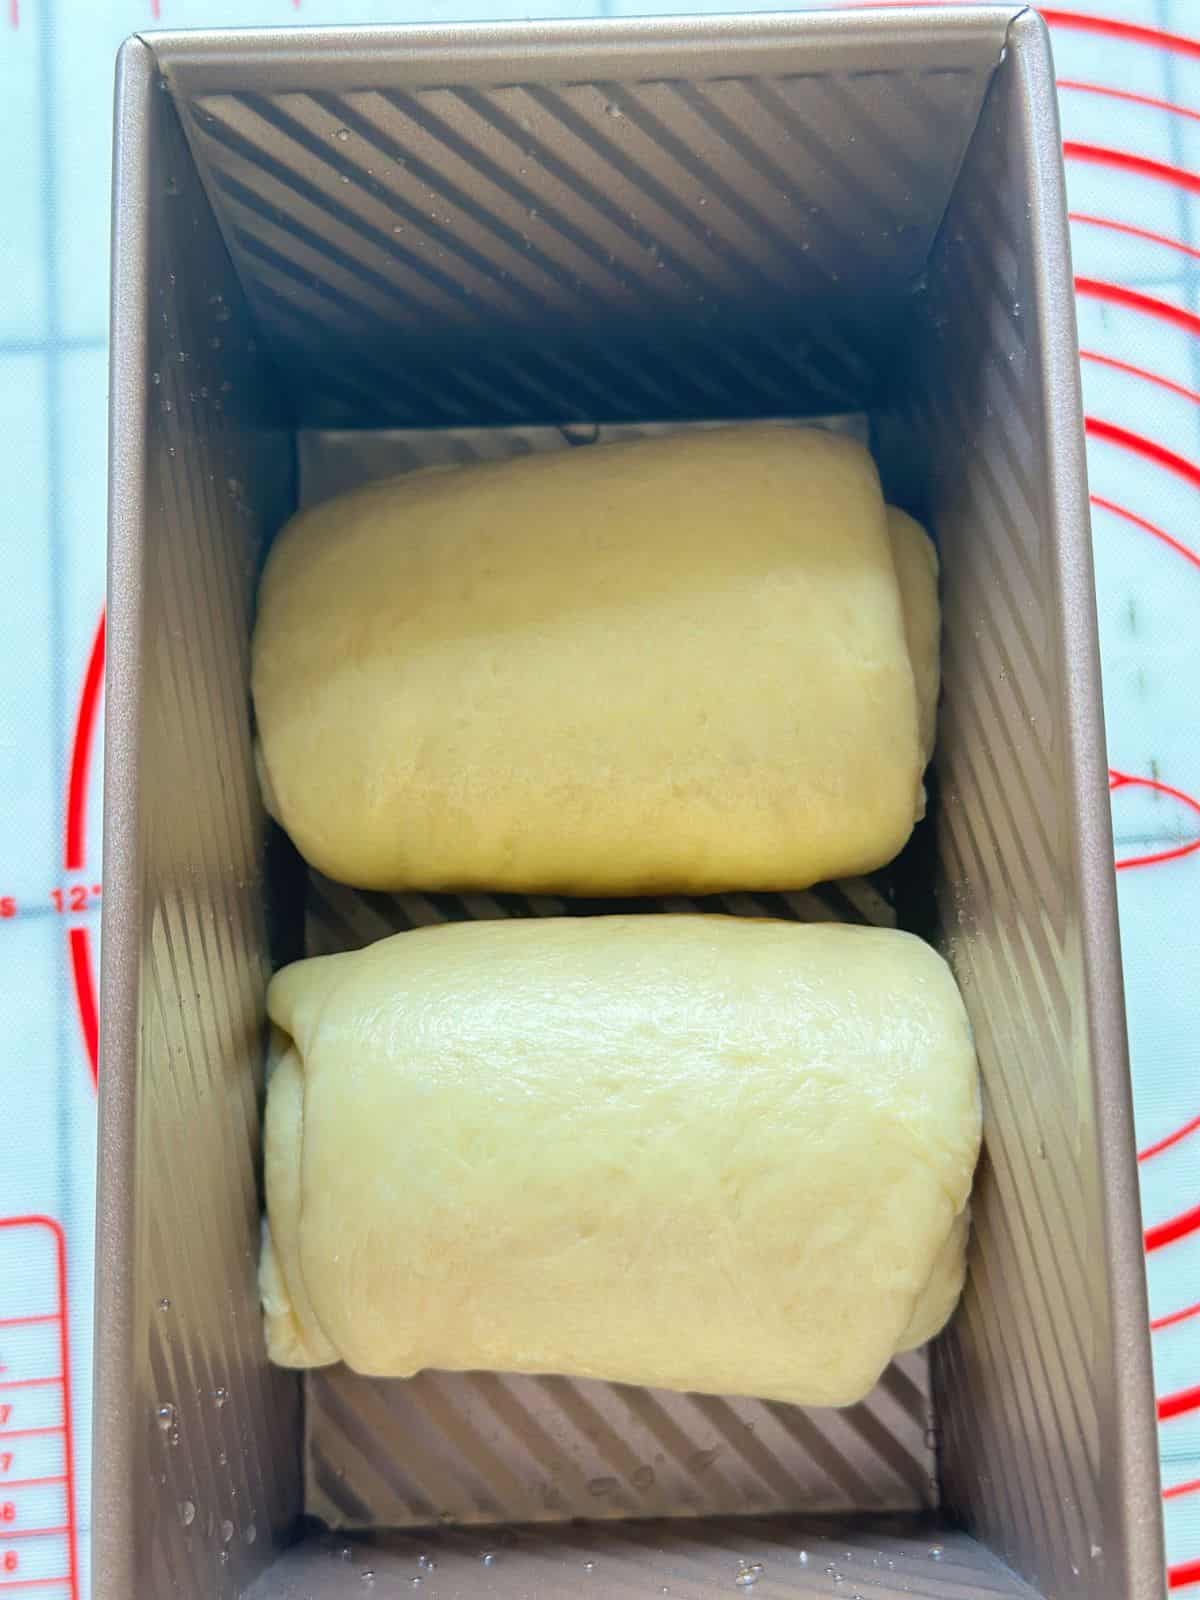
- Place both logs side by side in a greased loaf pan, seam side down. They’ll puff up together but still hold that lovely “twin roll” look. Let them rise until they’re about 1.5 times bigger.
Step 6 – Bake
- Preheat your oven to 355°F (180°C). Bake for 20 minutes, then lower the temperature to 335°F (170°C) and bake for another 20 minutes, until golden and your kitchen smells heavenly.
Step 7 – Cool and Enjoy
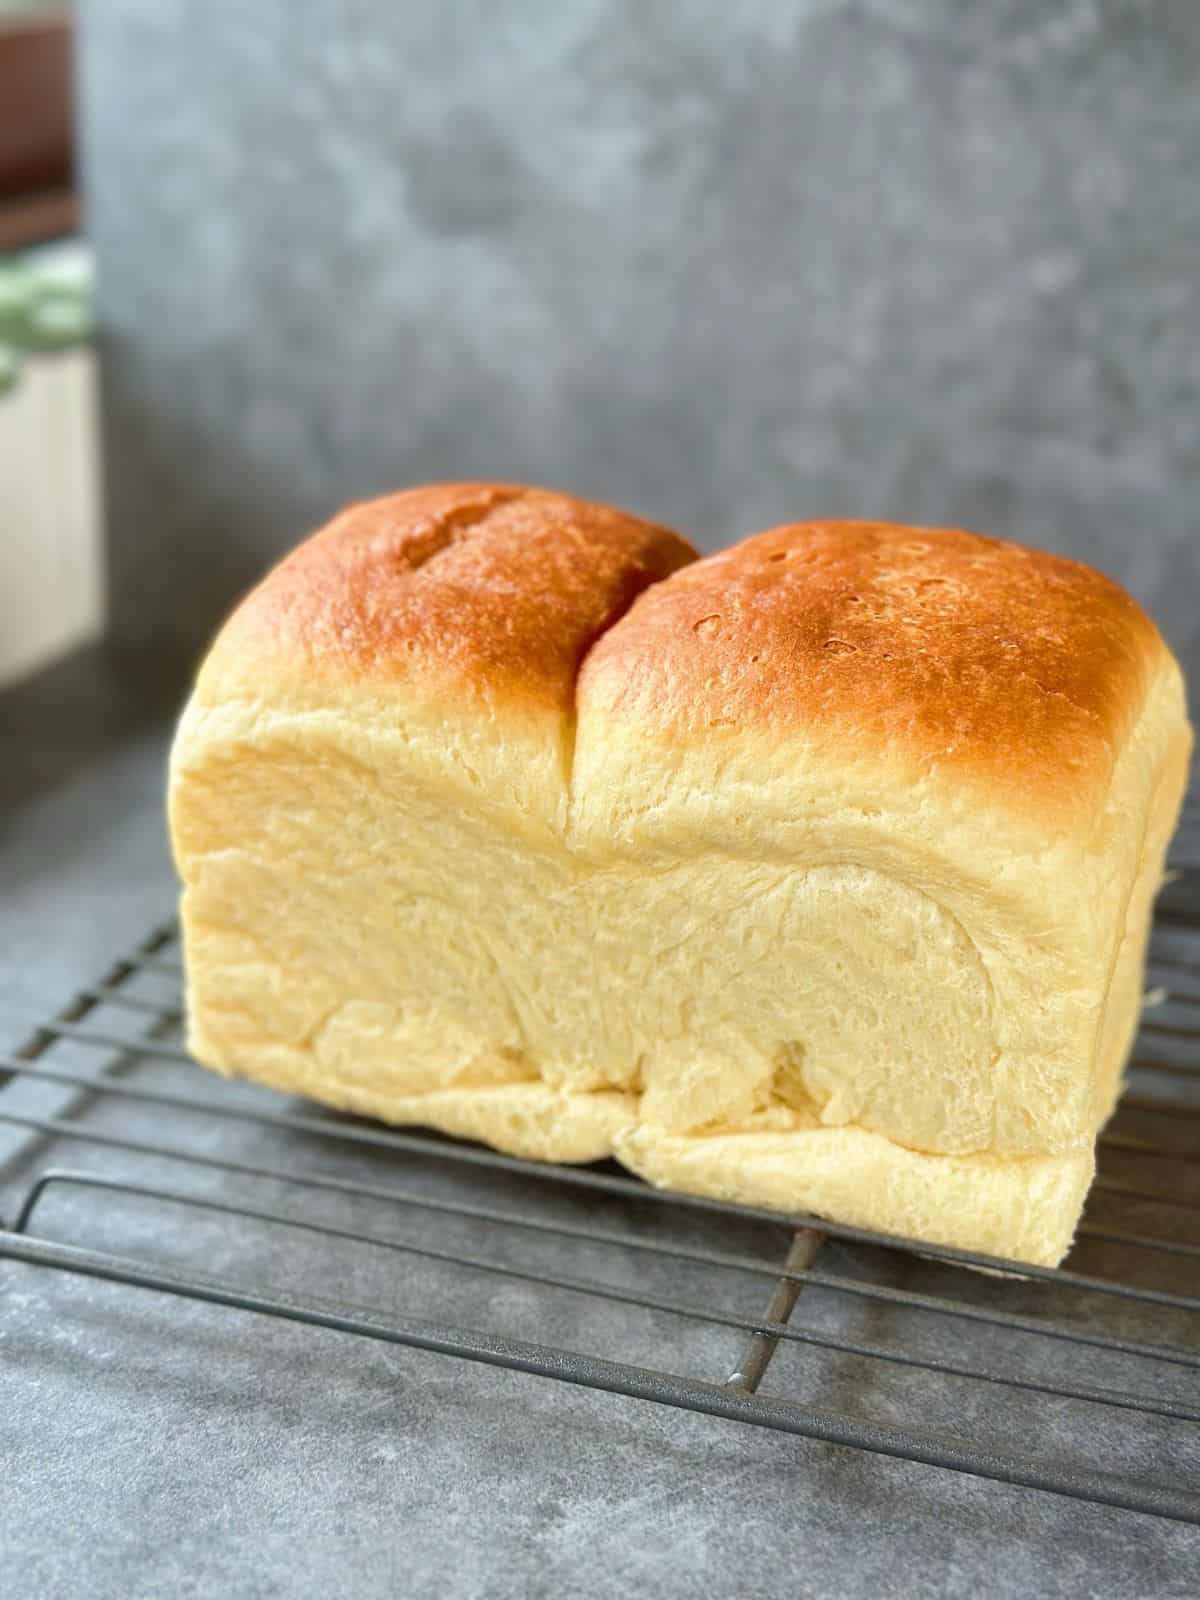
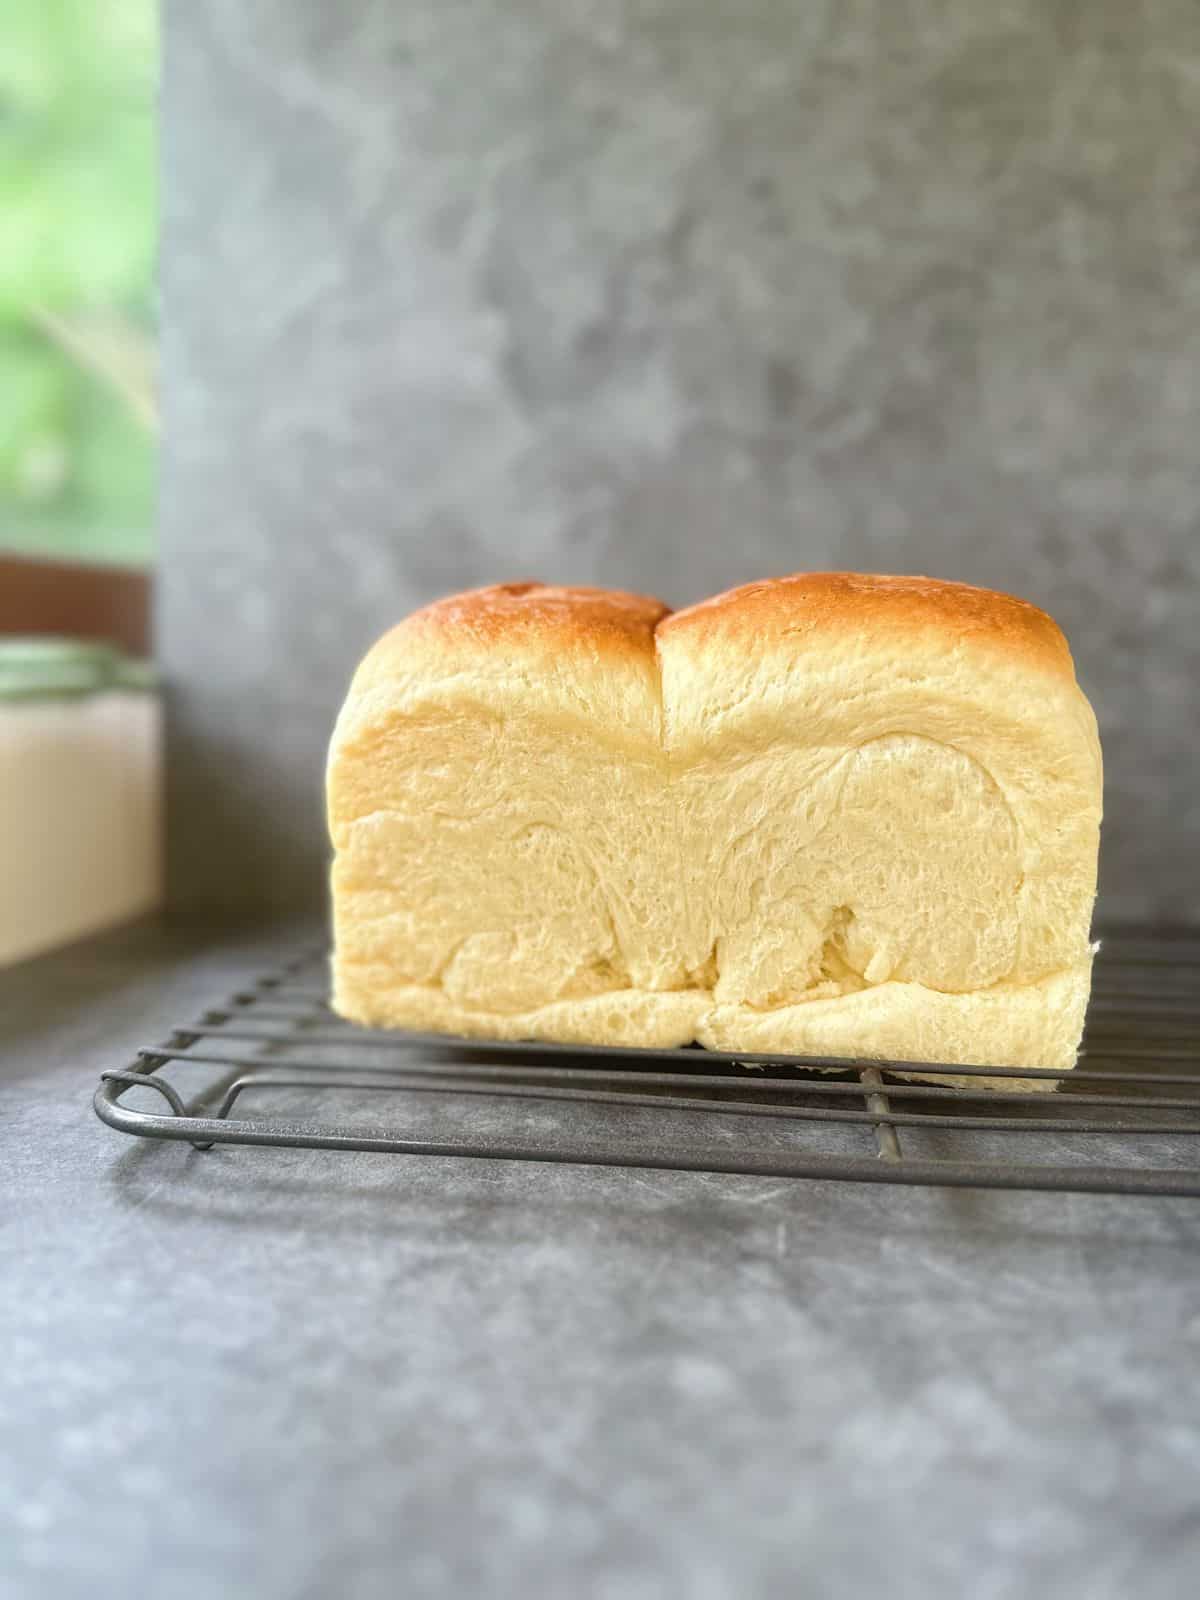
- Let the loaf rest in the pan for 5–10 minutes so the crust sets nicely. Run a butter knife around the edges if needed, then gently tip it out onto a wire rack (careful, it’s hot!).
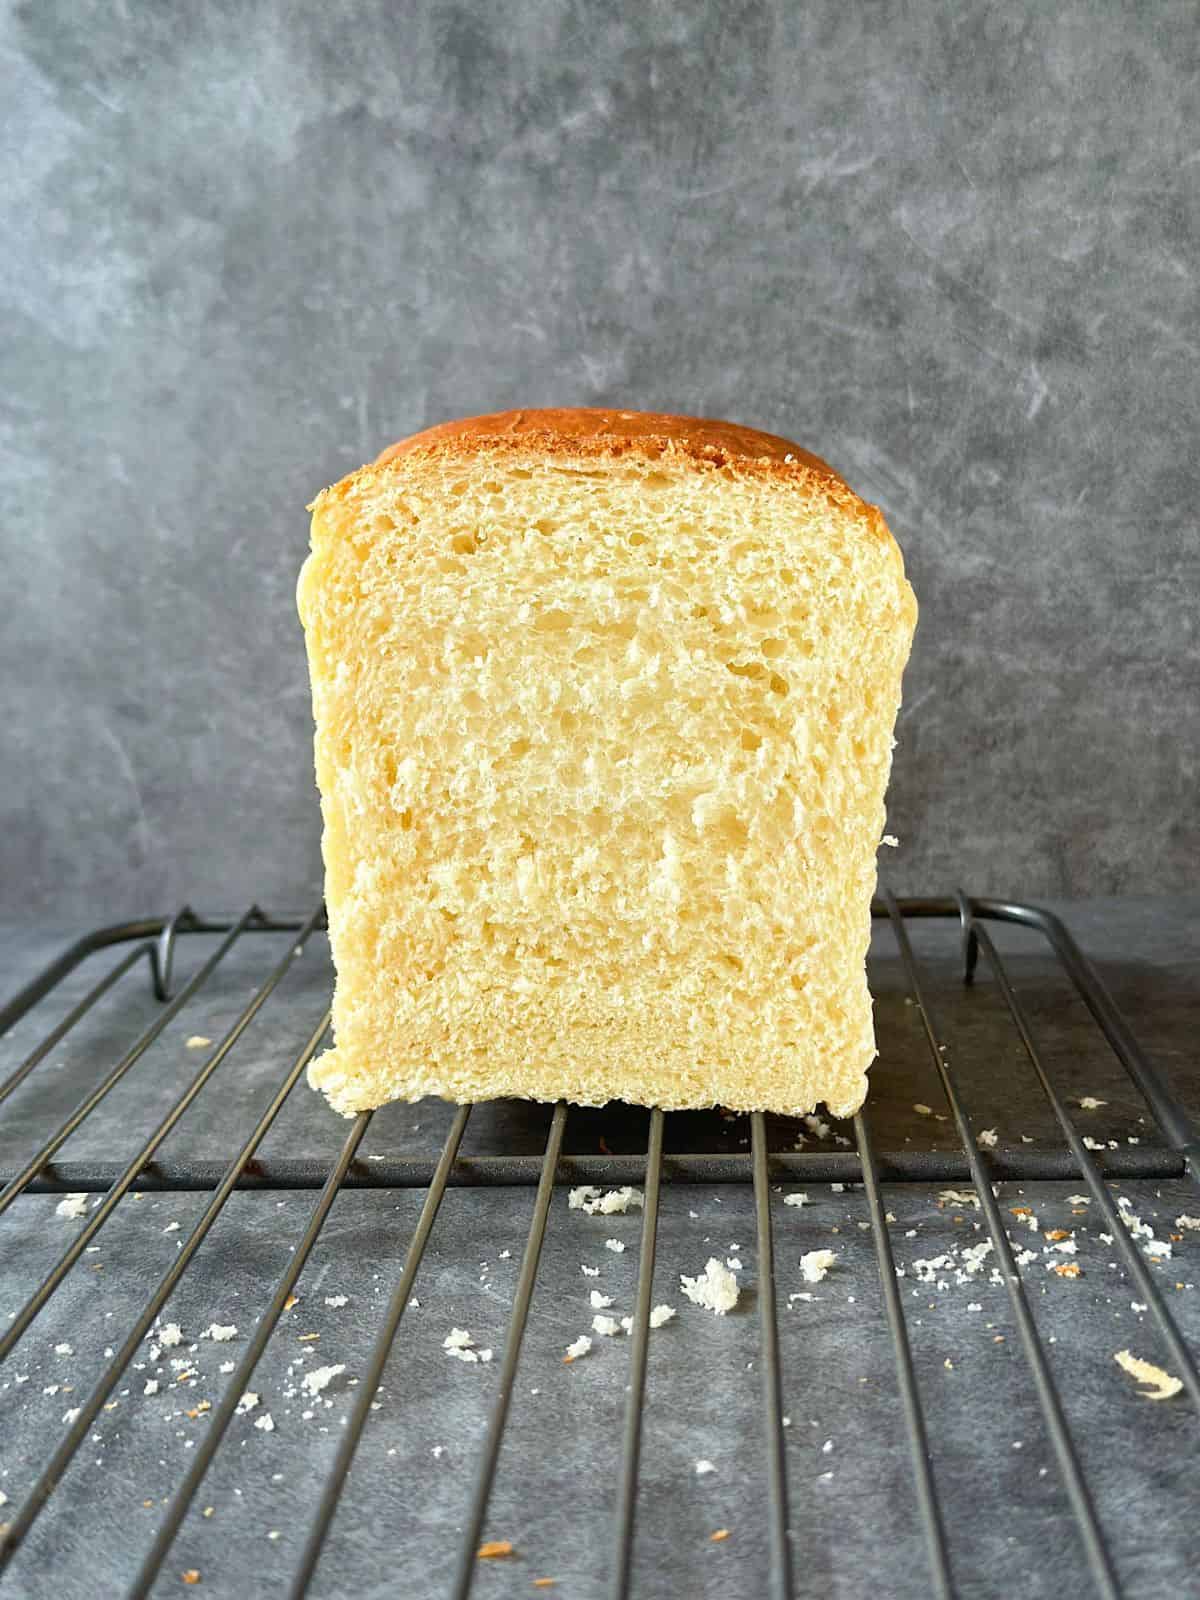
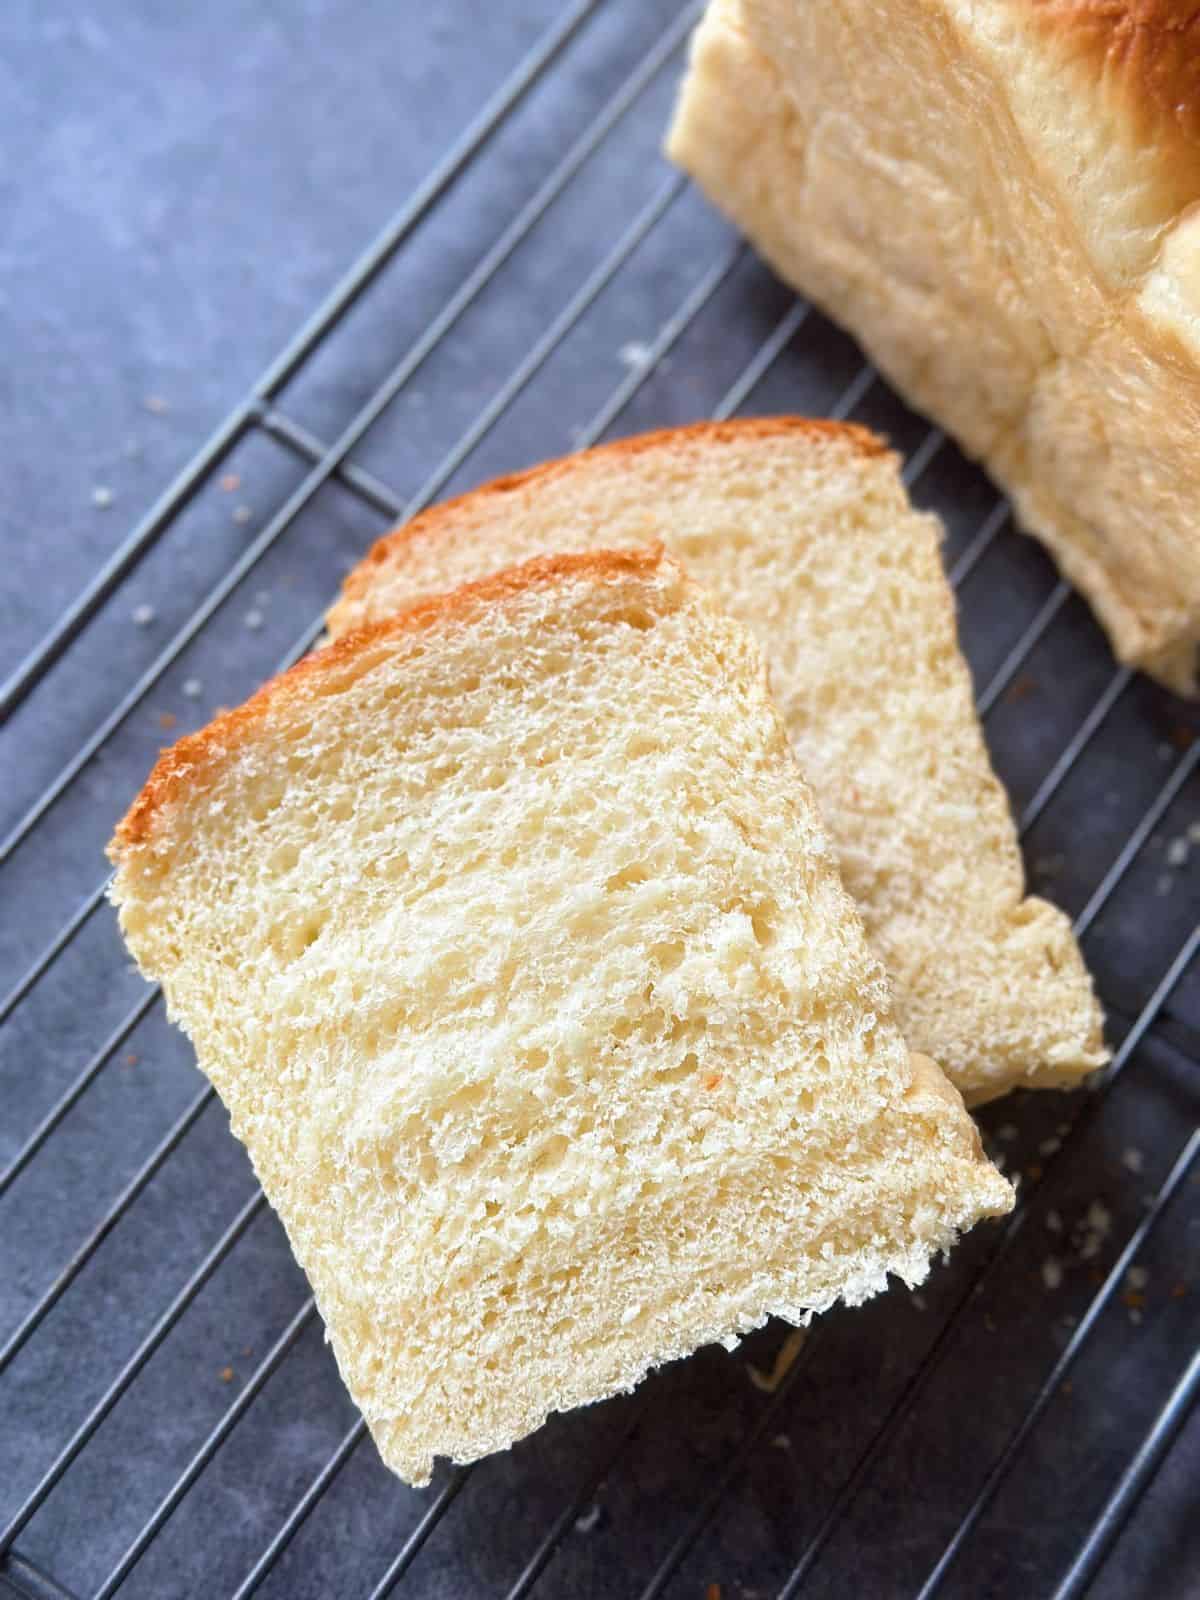
- Let it cool completely before slicing—this gives you the softest, fluffiest crumb.
Serving & Storage
- This bread is best enjoyed fresh—soft, fluffy, and perfect for toast or sandwiches. Let it cool completely before wrapping in plastic or storing in an airtight bag; it stays soft for 2–3 days at room temp.
- For longer storage, slice and freeze—just toast straight from the freezer, and it tastes like fresh again.
Tips & Troubleshooting
Variations & Ideas
Cocktail Buns: Soft rolls filled with sweet coconut, just like the ones from Asian bakeries.
Cream Pan: Fluffy buns with a creamy custard center—simple but so comforting.
Cinnamon Rolls: Rolled up with cinnamon sugar, baked, and finished with icing—a classic made even softer with milk bread dough.
Chocolate Cornets: Fun little cones filled with rich chocolate cream—always a hit with kids (and adults too).
Pandan Bread: My vegan spin on Shokupan, scented with pandan and coconut for a tropical twist.
Shokupan: Japanese Milk Bread (with Yudane)
Equipment
- 1 kitchen scale (for accurate measurements)
Ingredients
Yudane
- 75 g bread flour (½ cup + 1 tbsp)
- 90 g boiling water (6 tbsp)
Main Dough
- 225 g bread flour (1¾ cups + 2 tbsp)
- 1 egg (size L)
- 2 tbsp granulated sugar
- 65 g whole milk (¼ cup + 1 tsp)
- 1 tbsp skimmed milk powder (optional)
- 4 g instant yeast (1 tsp, If using active dry yeast, dissolve it in 2 tbsp of the lukewarm milk taken from the recipe)
- 45 g soft butter
Instructions
- Mix bread flour with boiling water. Pour the water straight over the flour, stir quickly until there is no dry bits, then let it cool. Cover and refrigerate overnight—this step helps trap moisture so your bread stays soft and fluffy for days.
- In a mixing bowl, combine the remaining flour, milk, milk powder, egg, sugar, salt, yeast, and the chilled yudane (cut into pieces so it mixes more easily). If using active dry yeast, dissolve it first in the lukewarm milk from the recipe.Knead until gluten starts to form, then add the softened butter. Keep kneading until the dough is smooth, elastic, and pulls cleanly from the sides of the bowl.
- Cover and let the dough rise in a warm, draft-free spot until it doubles in size (about 1 hour). A simple trick: place it in your oven with a bowl of hot water—it creates the perfect proofing box.
- Punch down the dough to release air bubbles, then divide it into two equal pieces.Flatten one piece into a rectangle and roll it into a snug log. With the smooth side down, flatten it again into a rectangle the width of your loaf pan. Roll it up tightly from the short side, pinch the seam closed, and tuck in the ends. Repeat with the second piece.
- Place both logs seam-side down in a greased loaf pan. Let them rise until they’re about 1.5 times bigger—they’ll puff up together while keeping that “twin roll” look.
- Preheat the oven to 355°F (180°C). Bake for 20 minutes, then lower the temperature to 335°F (170°C) and bake another 20 minutes, until the loaf is golden and your kitchen smells amazing.
- Leave the bread in the pan for 5–10 minutes so the crust sets, then carefully turn it out onto a wire rack. Let it cool completely before slicing—this patience gives you the softest, fluffiest crumb.
