In Vietnam, yogurt (Sữa Chua / Da Ua) was every kid’s sweet, tangy treat — creamy, refreshing, and made in big homemade batches.
With just three ingredients, you can easily recreate this comforting yogurt at home for breakfast, a snack, or dessert.
What Makes Vietnamese Yogurt So Special
Vietnamese yogurt has roots in the French colonial era, when many French-Vietnamese dishes like Banh Mi, Ca Phe Sua Da, and Pâté Chaud became part of our food culture.
With fresh milk scarce, it started as a mix of condensed milk and water.

I still remember frozen yogurt in tiny plastic bags — simple, sweet, and refreshing on hot days. Later, with whole milk, it evolved into the creamy, tangy treat we adore now.
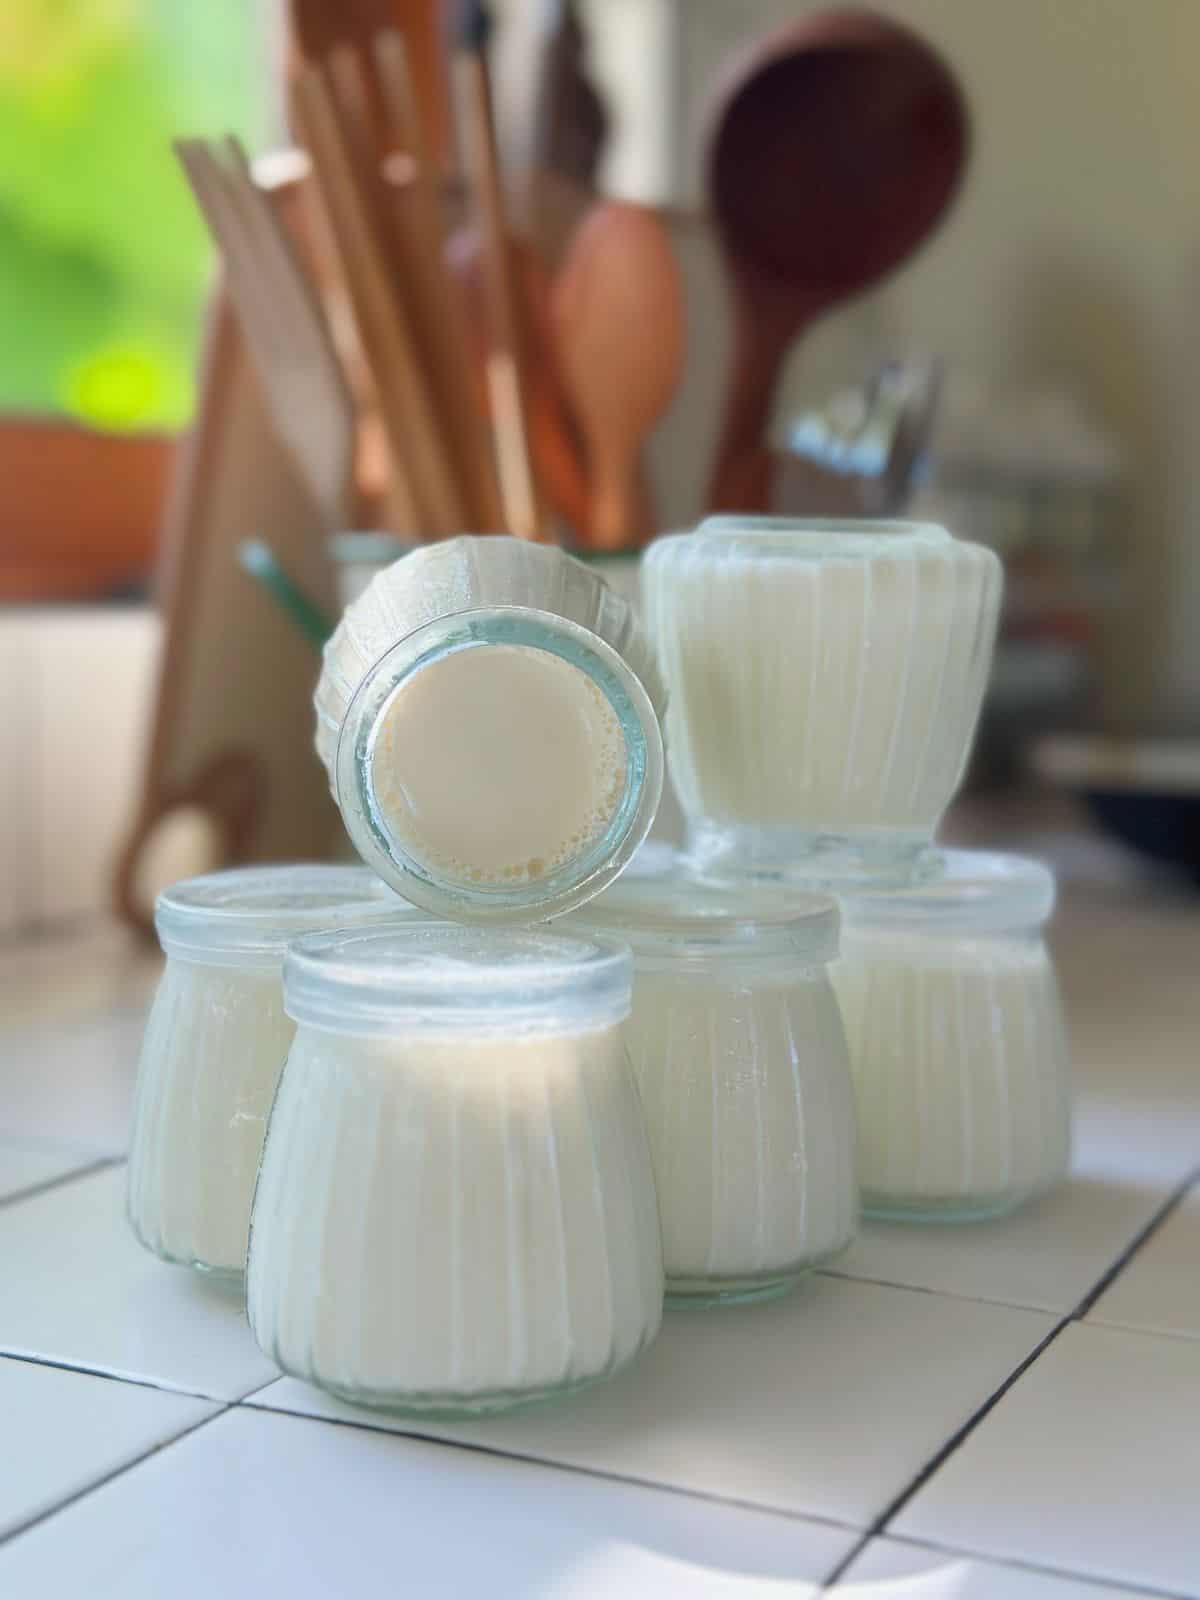
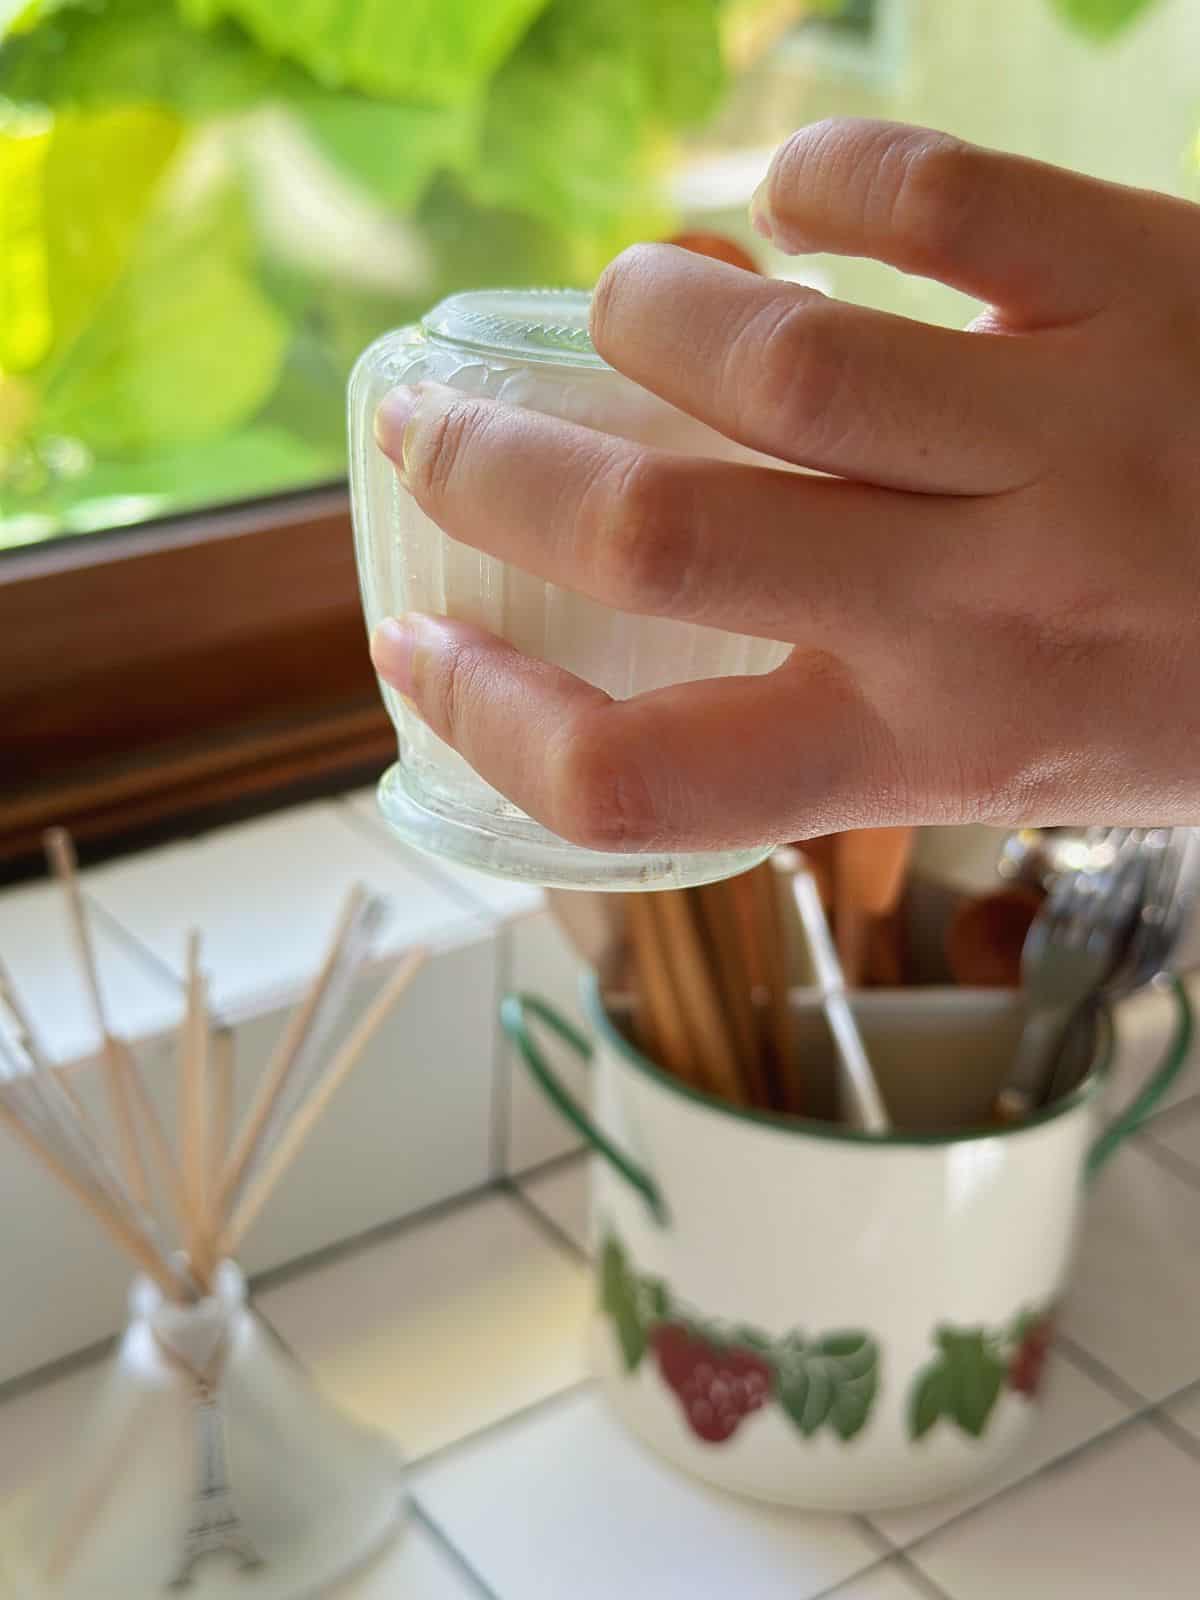
In Vietnam, we even test it with the fun “flip test”: turn the jar upside down, and if it stays put, it’s perfect.
Ingredients

Most Vietnamese yogurt recipes start by dissolving sweetened condensed milk in boiling water. I prefer another way — blending it with whole milk. The flavor stays rich and creamy, just like the yogurt I grew up with.
- Whole Milk – I usually go with UHT, but any milk with at least 1.5% fat works. If you’re using raw or pasteurized milk, check my note at the end for extra tips. Skip lactose-free milk – lactose is what feeds the yogurt cultures and helps it set.
- Sweetened Condensed Milk – high-protein versions give the best creamy texture.
- Plain Yogurt – this is your starter; any plain, unsweetened kind works.
When it comes to incubating, there are plenty of methods — from wrapping jars in towels to leaving them under an oven light. Personally, I stick to my Instant Pot, which makes the process almost effortless.
Instructions
Step 1: Prepare and Sterilize
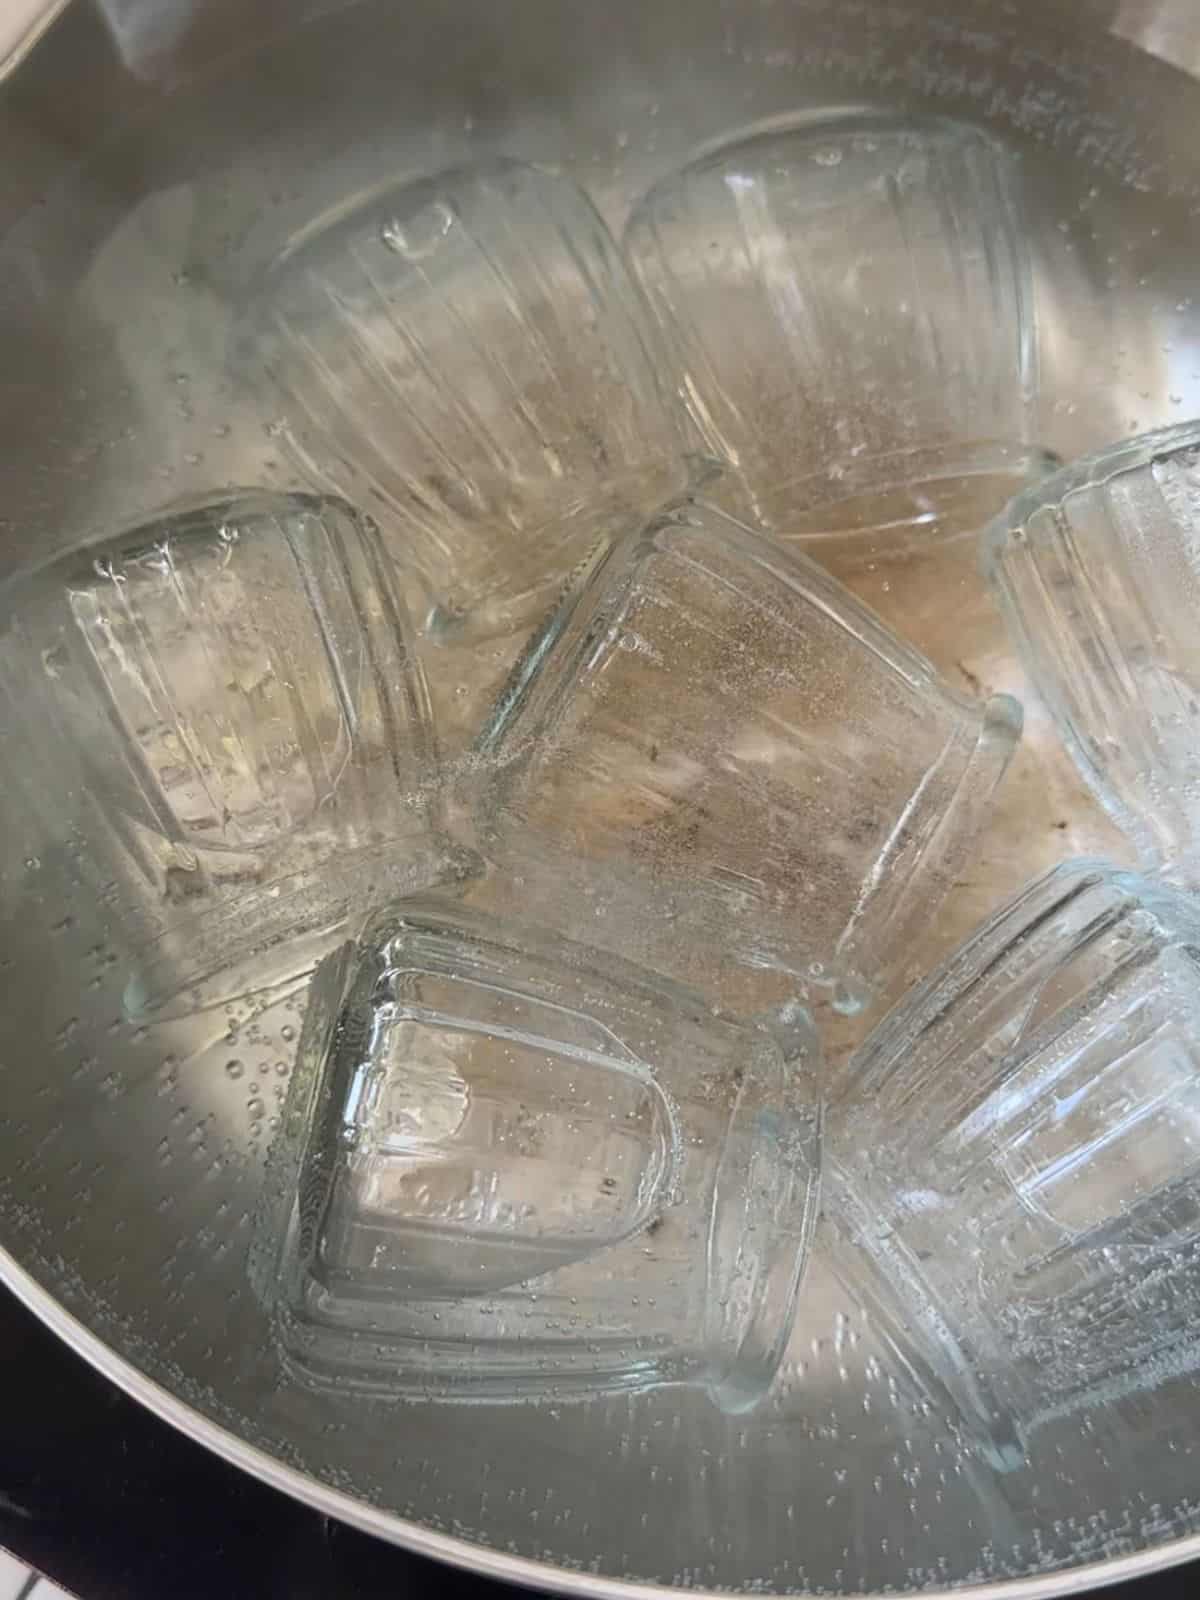
- Clean and sterilize all utensils, jars, and equipment. Let the milk, sweetened condensed milk, and yogurt sit at room temperature for about 1 hour.
Step 2: Mix and Warm
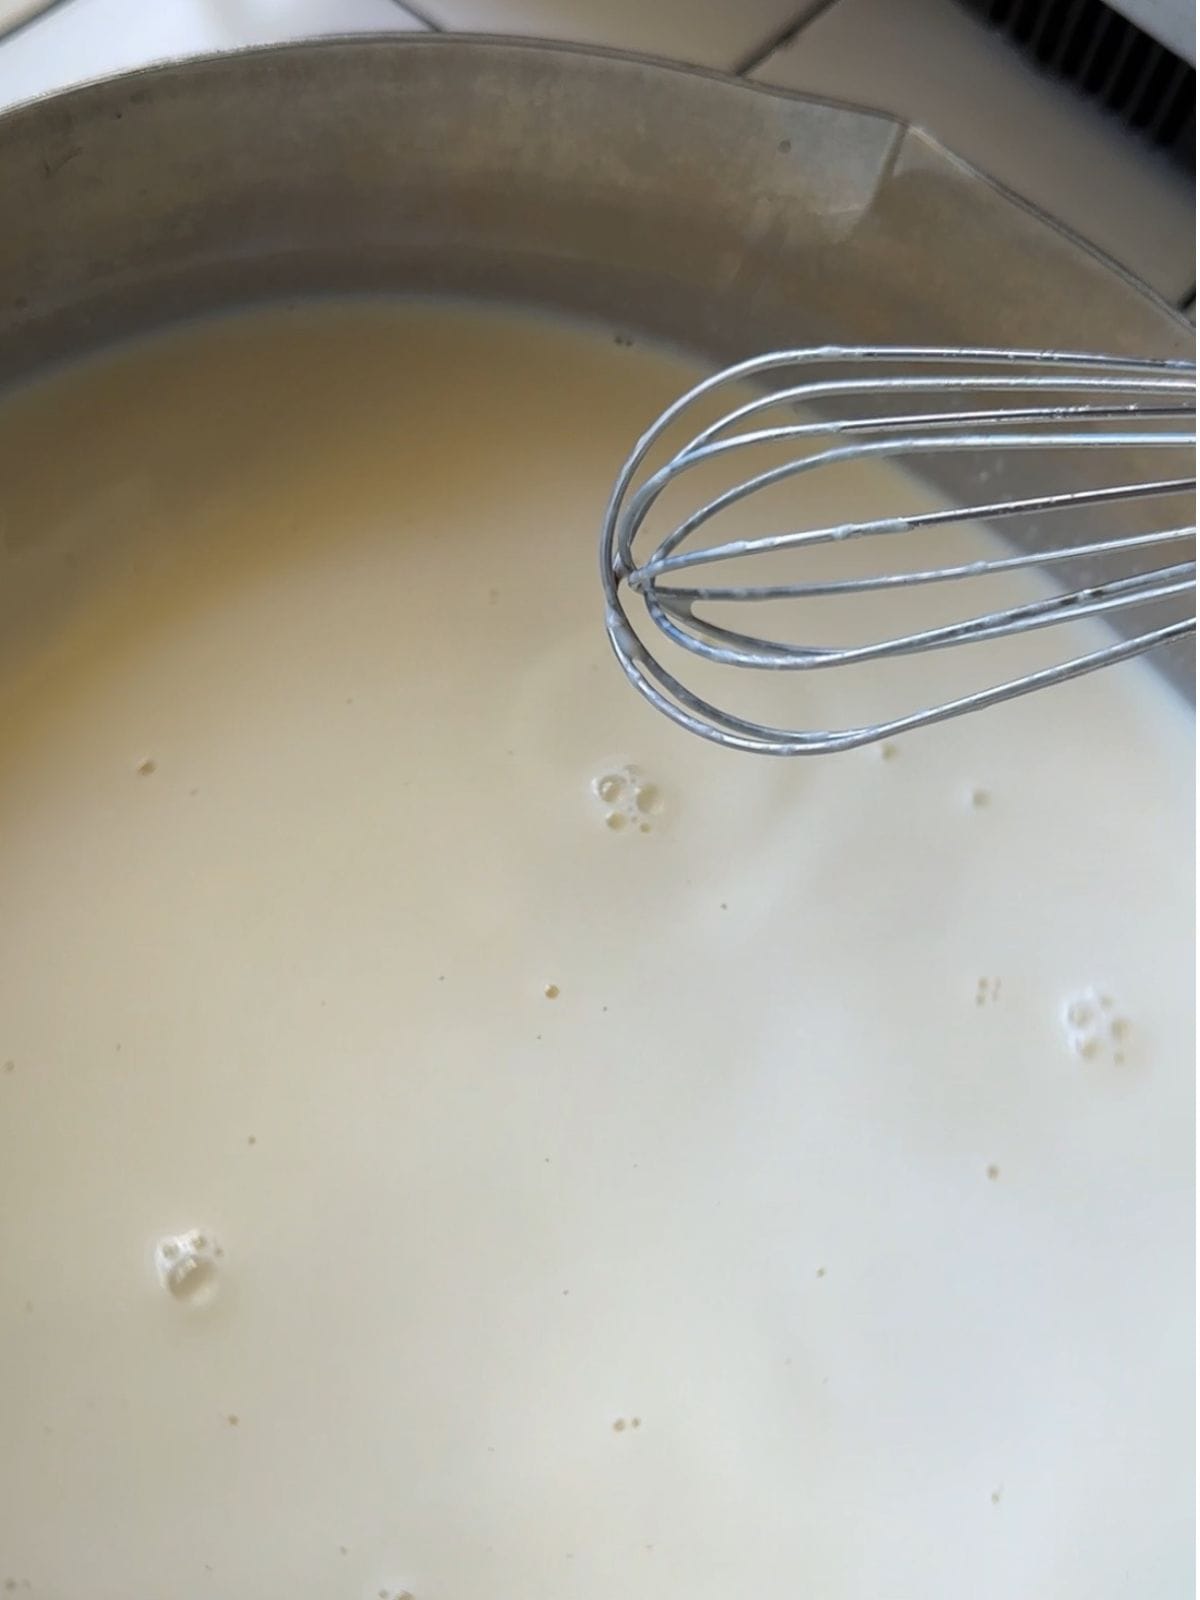
- In a pot, mix the sweetened condensed milk with one can of whole milk (using the can as a measure), then add the remaining milk. Warm over medium-low heat, whisking gently, until it reaches 104–113°F (40–45°C).
Step 3: Add Yogurt Starter
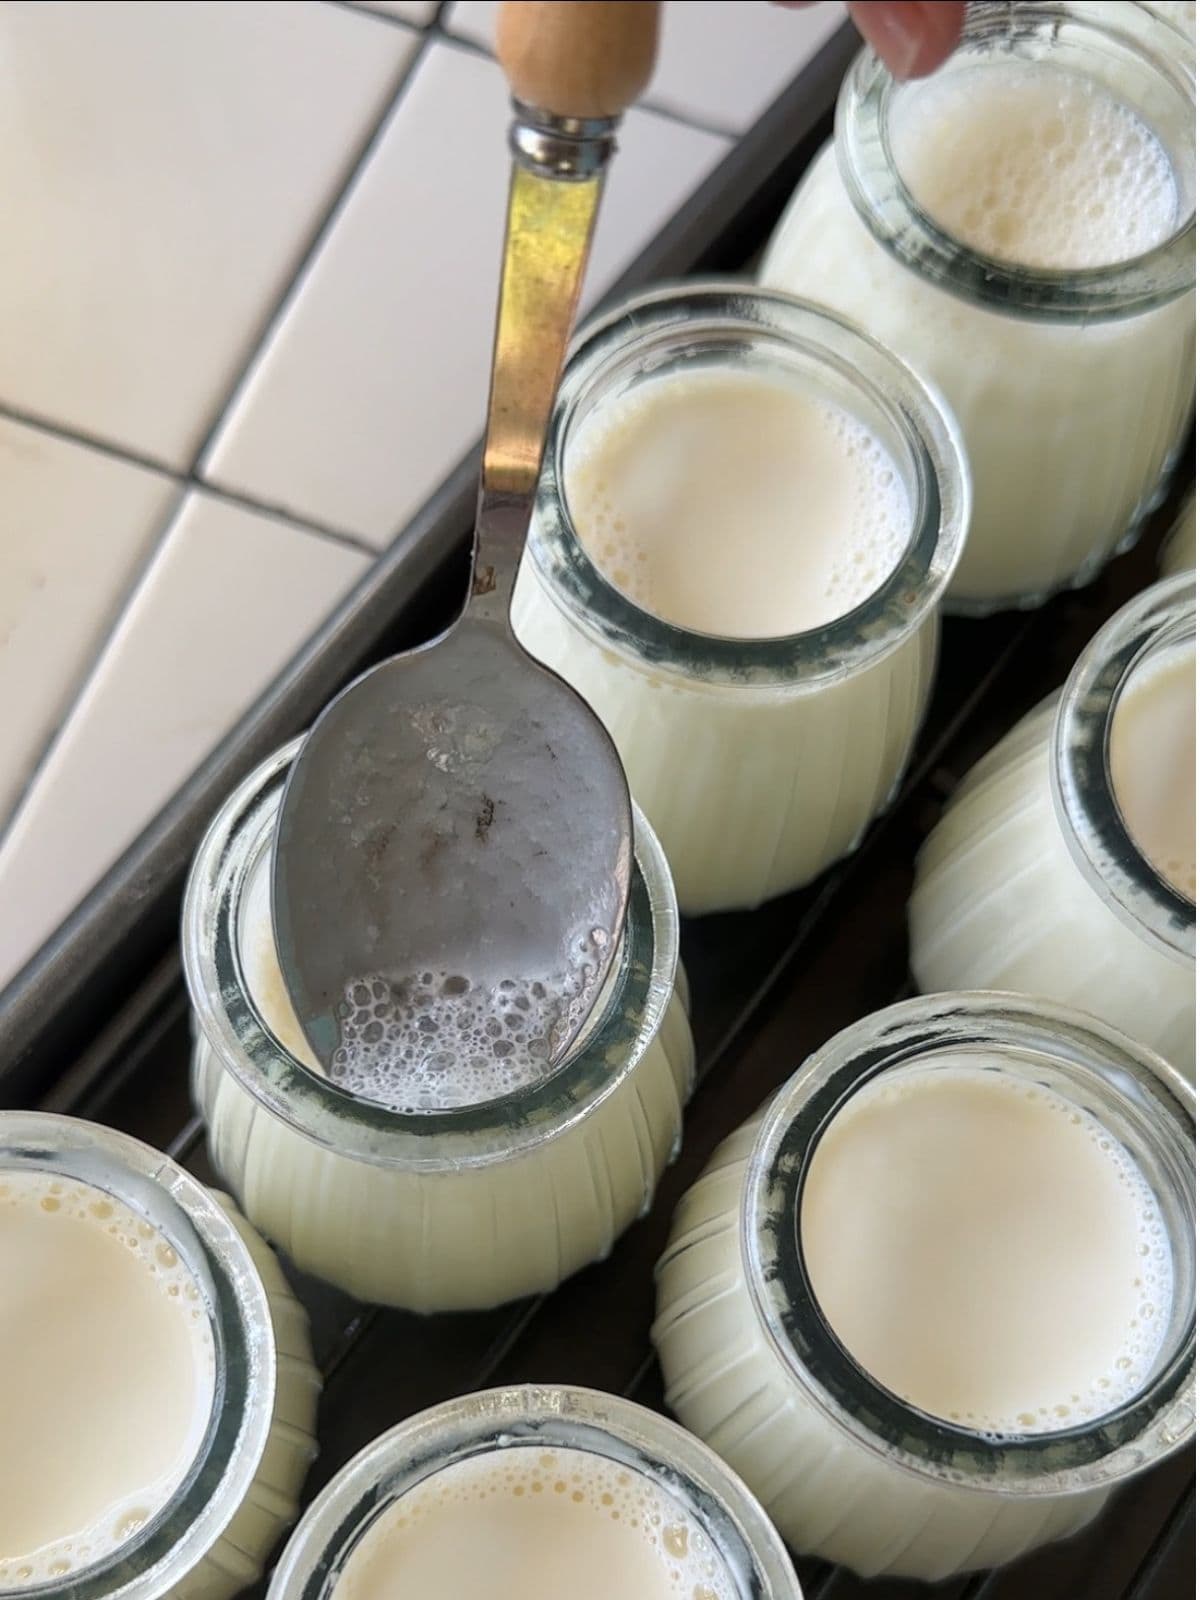
- Stir a few spoonfuls of warm milk into the plain yogurt until smooth, then mix it back into the pot. Pour the mixture into sterilized jars, skim off any foam, and secure the lids.
Step 4: Incubate & Serve
- Arrange the jars in the Instant Pot. For the sous vide function, set to 113°F (45°C) and incubate for 8–10 hours. For the yogurt function, add water to reach two-thirds of the jar height and incubate for 8–10 hours.
- Chill the yogurt in the fridge until it’s nicely set and enjoy it cold.
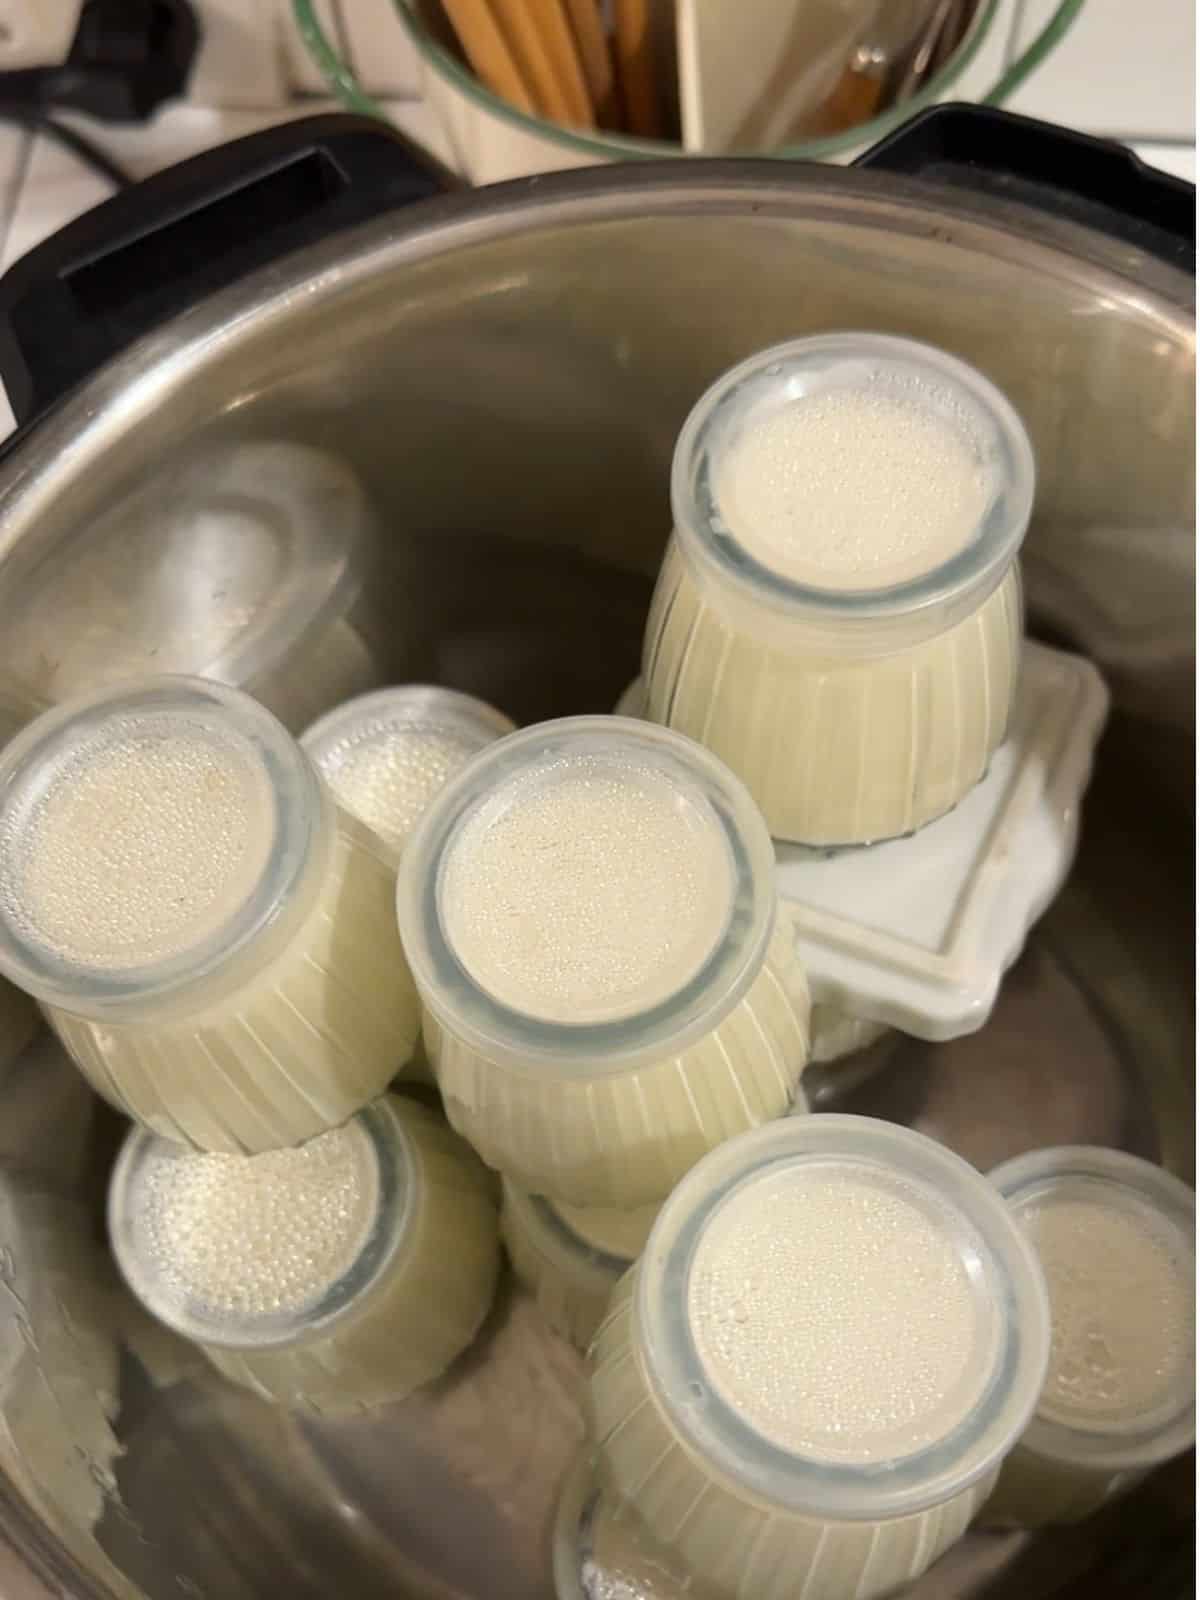
Other Ways to Incubate Yogurt
In Vietnam, where Instant Pots aren’t the norm, we improvise to keep yogurt warm. Here are two easy methods you can try:
Insulated Box or Rice Cooker – Tuck the jars inside, then pour in warm water (about 110–120°F / 43–49°C) until it reaches two-thirds of the jars. Close the lid and leave for 8–10 hours, topping up with warm water if needed.
Oven Method – Preheat to 170°F (75°C), turn it off, and place the jars inside with just the oven light on. In cold weather, add a tray of boiling water on the bottom rack and replace every few hours.

Expert Tips
Raw or Pasteurized Milk – Heat to 200°F (93°C), then cool to 104–113°F (40–45°C). This smooths the proteins and kills off unwanted bacteria. UHT milk saves you the step since it’s already treated.
Sterilize Everything – Jars, spoons, whisks — keep it all squeaky clean.
Room Temp Ingredients – Let milk, yogurt starter, and condensed milk warm up before mixing.
Incubation Time – Longer = tangier. Adjust to your taste.
Sweetness – Anywhere from ½ to 1 can of condensed milk works.
Extra Creaminess – Swap part of the milk with cream, or sneak in a bit of Laughing Cow or cream cheese for that silky, indulgent finish.
How to Serve Vietnamese Yogurt
Vietnamese yogurt is already a treat on its own — creamy, tangy, and just sweet enough to enjoy straight from the jar. But if you feel like dressing it up a little, here are some fun ways to enjoy it:
Fresh Twist: Top it with jam, honey, or fresh fruit.
Frozen Yogurt: Pour the yogurt into long plastic tubes and freeze it — and just like that, you have a childhood favorite that every Vietnamese kid grew up loving.
Fruit Salad: Pair it with tropical fruits for a vibrant Vietnamese fruit salad (hoa quả dầm).
Yogurt with Sticky Rice: Try it with black sticky rice (nếp cẩm) for the chewy, creamy dessert called sữa chua nếp cẩm.
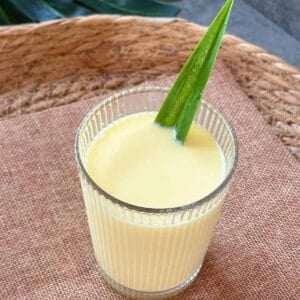
Iced Yogurt Smoothie (Sữa Chua Đá): Blend it with fruit, ice, and a splash of condensed milk.
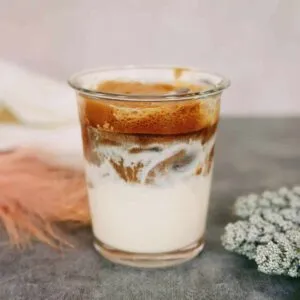
Yogurt Coffee (Sữa Chua Cà Phê): Stir it into coffee for a unique, tangy-sweet twist.
Yogurt with Boba Pearls (Sữa Chua Trân Châu): A Halong Bay specialty, featuring yogurt ice cream topped with soft white boba pearls and a drizzle of sweet coconut sauce.
More Refreshing Vietnamese Drinks & Desserts for Scorching Summer Day

(Vietnamese Banana Ice Cream)

Vietnamese Yogurt (Sữa Chua / Da Ua)
Equipment
- 1 Instant Pot (6 Quart/6 Liter)
Ingredients
- 1 can sweetened condensed milk (14oz/380g)
- 34 fl oz UHT whole milk (1 liter)
- ½ cup plain, unsweetened yogurt (100 g)
Instructions
- Clean and sterilize all utensils that will touch the milk, such as jars, a whisk, ladle, and spoon.
- Allow the milk, sweetened condensed milk, and yogurt to sit at room temperature for about an hour.
- In a pot, blend the sweetened condensed milk with one can of whole milk, using the empty can as a measuring tool. Then, combine this mixture with the remaining milk in the pot.
- Gently warm the milk mixture over medium-low heat, whisking continuously to prevent scorching. Heat it until it reaches a temperature of 104°F – 113°F (40°C – 45°C), then remove it from the heat.
- Take a few spoonfuls of the warm milk and stir it into the yogurt, mixing until smooth. Pour this yogurt mixture back into the pot and stir until everything is well combined.
- Pour the mixture into glass jars, carefully skim off any surface foam for a silkier finish, and secure the lids. Arrange the jars in the Instant Pot and close the lid.
- Incubation:– Sous Vide Function: Set the Instant Pot to 113°F (45°C) and let it incubate for 8 to 10 hours.– Yogurt Function: Add water to the Instant Pot until it reaches about two-thirds of the jar height, select the yogurt function, and incubate for 8 to 10 hours.
- Refrigerate the yogurt until it firms up, then enjoy it chilled.
Notes
- For Raw or Pasteurized Milk: Begin by scalding the milk; heat it to 200°F (93°C), then cool it down to 104°F – 113°F (40°C – 45°C). Stir often to prevent the milk from scorching. This process alters the milk proteins for a creamier yogurt texture and eliminates bacteria that may interfere with the yogurt cultures. UHT milk is a great alternative as it has already undergone this treatment.
- Sterilize All Equipment: Make sure that all tools, including jars, whisks, and ladles, are properly sterilized before you start.
- Room Temperature Ingredients: Allow your ingredients to reach room temperature before combining them.
- Incubation Duration: Keep in mind that longer incubation will result in tangier yogurt.
- Sweetness Adjustment: You can adjust the sweetness of your yogurt by varying the amount of condensed milk, anywhere from half a can to a full can, according to your preference.

