Doraemon Dora Cakes, or Dorayaki, are delightful Japanese pancakes filled with sweet red bean paste. These treats have won the hearts of millions of Vietnamese who grew up with a love for Doraemon.
After countless experiments and fine-tuning, I’ve crafted the perfect balance of ingredients and a cooking method that guarantees these pancakes stay wonderfully soft and fluffy, even a day later.

Table of Contents
What is Dorayaki?
Dora Cakes, also known as Dorayaki (どら焼き), are delightful traditional Japanese sweets (Wagashi), that have captured the hearts of many. Each classic Dora Cake consists of two fluffy, hand-sized pancakes lovingly filled with Anko (sweet red bean paste).
For me, Dora Cakes are more than just a tasty treat; they evoke sweet childhood memories of my favorite anime character, the lovable robot cat, Doraemon.

Everyone knows that Doraemon has a hilarious disdain for mice and an insatiable love for Dorayaki. As a child, I always dreamed of trying this delightful treat, and now I can make it myself!
I’ve even put a twist on the classic by creating Chocolate Dorayaki, a deliciously chocolaty version of this beloved dessert.

How I developed this recipe
I’ve experimented with numerous Dorayaki recipes online, and while they were all delicious, most of them resembled American pancakes, relying on baking powder and baking soda for rise.
Wanting to enhance the texture and ensure my pancakes remained soft for days, I decided to try the chiffon method—think of the airy softness of pandan chiffon cake and Japanese cheesecake.
The results were truly beyond my expectations! While it does require a bit of extra time, my Dorayaki turned out incredibly soft and fluffy, staying that way for days.
Ingredients

- Low-gluten flour: I use Type 405 flour, which is equivalent to all-purpose flour, as proper cake flour is hard to find in Germany.
- Sugar: Granulated sugar not only helps whip the egg whites for light and fluffy Dorayaki but also aids in caramelization and browning.
- Mirin: This sweet Japanese rice wine adds a delightful aroma to the batter. If unavailable, honey and water can be substituted.
- Eggs: They provide richness and contribute to the fluffiness of the pancakes.
- Vinegar or Lemon Juice: An acid that adds stability to the egg whites.
- Cooking oil, Milk, and Water: These adjust the batter’s consistency.
- Baking Soda: This leavening agent enhances the airiness and browning of the pancakes.
- Salt: A pinch balances the dish’s overall flavor.
- Japanese Sweet Red Bean Paste (Anko): The traditional filling for Dorayaki, but you can substitute it with Nutella, pastry cream, or any filling you prefer.
Instructions
Make the batter
- Separate the egg yolk and egg white of two eggs.
- In a bow, mix one egg yolk with cooking oil, milk, and mirin together. Sift flour to the mixture. whisk until you just get a smooth batter. Don’t overmix the batter because mixing any longer will make gluten develope, resulting in denser pancakes.

- Combine baking soda and water, then add the mixture to the batter and mix until fully incorporated. Cover the batter (1) and allow it to rest for 15 minutes.

- Whisk the two egg whites in a separate bowl with some drops of lemon juice/ vinegar, a pinch of salt and sugar. Make sure your bowl and whisk are completely clean, with no residue from the egg yolks or other fat. Add salt at first, then add lemon juice/ vinegar during the foaming stage. When your egg whites reach the foamy stage, gradually add sugar to your whipped egg whites.
- You don’t need to whip the egg whites until they form soft peaks (which leads to the texture of a sponge cake). Stop when the egg whites start to turn white and opaque and the big bubbles of egg whites disappear. When you lift the whisk, a peak should briefly rise before collapsing, but still retain some shape.
- Add the remaining egg yolk to the egg white mixture and gently fold them together, being careful not to overmix and lose the airiness.

- Finally, carefully combine the egg white and the batter (1) by folding them together.

Fry the pancakes
- Preheat your non-stick pan over medium heat and add a few drops of oil. Wipe off any excess oil with a paper towel to ensure even browning pancakes. Lower the heat to between medium-low and low.

- Use a ladle to drop about 2 tablespoons of batter onto the pan. Put the lid on and let the pancake cook until small bubbles form on the surface. Don’t be tempted to increase the heat, as this can result in uneven browning. Cooking time should be around 2 minutes.

- Once small bubbles appear all over the pancake and the edges are no longer wet, flip the pancake over and cook for an additional minute.

- Remove the cooked pancakes from the pan and place them on a plate. Cover with a damp towel or cling wrap to prevent drying out. Repeat until all pancakes are cooked.
- Don’t forget to give a batter a fold every time before you fry a new pancake to ensure that the batter is evenly combined.

- Assemble the Dora cakes by making a sandwich with two pancakes and Anko paste as filling. Add more red bean paste in the center to create a mountain shape, with the middle thicker than the edges.

- Wrap the Dora cakes with plastic wrap until ready to serve. Enjoy your delicious homemade Dora cakes!

Instructional Video
Helpful Tips
- Highly recommend using a scale to weigh all ingredients accurately.
- Avoid making a large batch of batter. I recommend making the batter with two eggs at a time since the pancakes rise from the whipped egg whites and baking soda. If the batter sits for too long, the bubbles in the egg whites may collapse and baking soda also loses its effectiveness.
- Gently combine the whipped egg whites with the batter mixture. Be careful not to overbeat or underbeat the egg whites, as this will affect the texture of your pancakes.
- Temperature is very important. Your pan temperature shouldn’t be too high or too low. If your pan is too hot, try adding a teaspoon of water to cool it down.
- When dropping the batter onto the pan, aim for a distance of about 10cm (4 inches) to create evenly round pancakes.
- If you have a high-quality nonstick pan, you won’t need any cooking oil for frying your pancakes.
How to store
- If stored in an airtight container, Dora cakes can stay fresh for a few days.
- If you want to store them for an extended period, wrap each one individually in cling wrap and then place them in a ziplock bag in the fridge.
- These sweet Japanese pancakes can be stored in the freezer for up to a month.
More Easy Asian Snacks

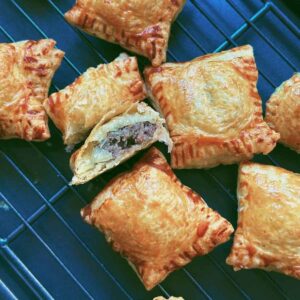
(Vietnamese Meat Pie)

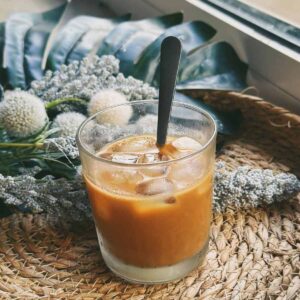
(Cà Phê Sữa Đá)
Entdecke eine Sammlung vietnamesischer Rezepte in meinem Blog und melde dich für neue Updates an. Wenn dir mein Rezept gefallen hat, gib mir bitte eine 5-Sterne-Bewertung 🌟🌟🌟🌟🌟 oder hinterlasse einen Kommentar, um mir zu sagen, was du denkst.
Und denke daran, in Verbindung zu bleiben – sei es übe Instagram, Facebook, Pinterest und YouTube 🥰.

Super Fluffy Dorayaki | Dora Cakes
Equipment
- 1 Bowl
- 1 Whisk
- 1 non-stick pan
- 1 Ladle
Ingredients
I highly recommend using a scale to measure the ingredients.
- 2 eggs (separate egg yolks and egg whites)
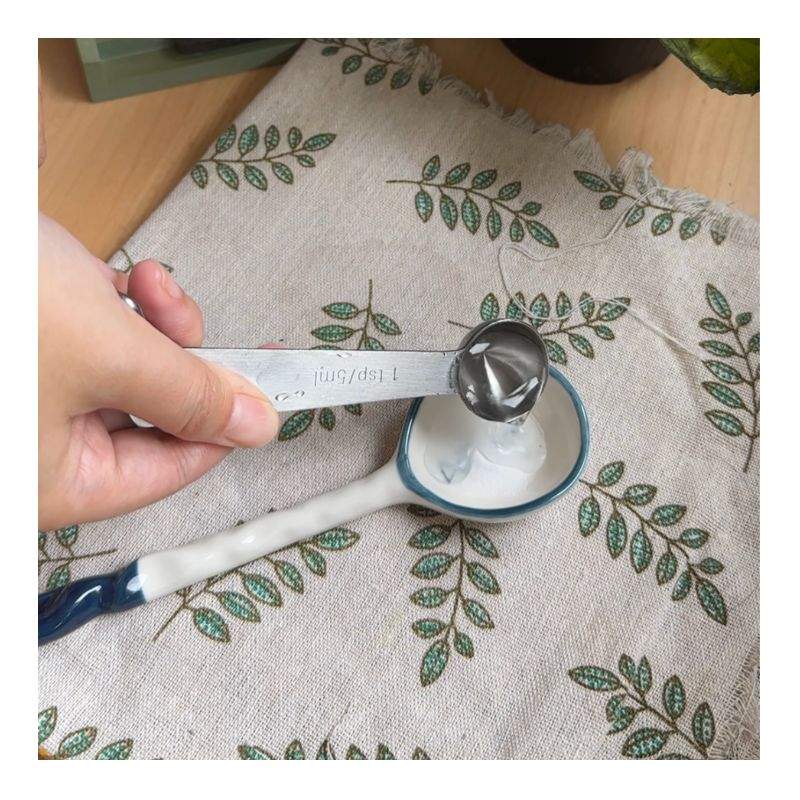
- 20 g sugar (1tbsp + 1 tsp)
- 35 g cake flour (or all purpose flour) (around 1/4 cup)
- 1 tbsp mirin (substitute with 1 tsp honey + 2 tsp sake rice wine / 2 tsp water)
- 1 tsp cooking oil
- 2 tsp milk
- ½ tsp water
- ⅛ tsp baking soda
- ⅛ tsp salt
- ⅛ tsp lemon juice / vinegar (5%)
- 300 g Sweet red bean paste (Anko paste)
Instructions
Prepare the batter:
- Start by separating the yolks and whites of two eggs.
- In a bowl, combine one egg yolk with cooking oil, milk, and mirin. Sift flour into the mixture and whisk until you have a smooth batter. Be careful not to overmix, as excessive mixing can lead to denser pancakes due to gluten development.
- Next, mix baking soda and water together, then add this mixture to the batter. Stir until fully incorporated. Cover the batter (1) and let it rest for 15 minutes.
- In a separate bowl, whisk the two egg whites with a few drops of lemon juice or vinegar, a pinch of salt, and sugar. Ensure that the bowl and whisk are clean, without any residue from the egg yolks or fat. Add the salt initially and then incorporate the lemon juice or vinegar when the egg whites begin to foam. Gradually add sugar as you continue to whip the egg whites.
- You don't need to whip the egg whites until they form soft peaks, as this can result in more sponge-like pancakes. Stop whisking when the egg whites turn white and opaque, and the large bubbles disappear. When you lift the whisk, a peak should briefly rise before collapsing, while still retaining some shape.
- Add the remaining egg yolk to the egg white mixture and gently fold them together, being careful not to overmix and lose the airy texture.
- Finally, combine the egg white mixture with the batter (1) by folding them together carefully.
Cook the pancakes as follows:
- Preheat a non-stick pan over medium heat and add a few drops of oil. Remove any excess oil by wiping the pan with a paper towel, ensuring that the pancakes brown evenly. Reduce the heat to medium-low or low.
- Use a ladle to drop approximately 2 tablespoons of batter onto the pan. Place the lid on and allow the pancake to cook until small bubbles form on the surface. Resist the temptation to increase the heat, as this can lead to uneven browning. The cooking time should be around 2 minutes.
- When small bubbles form all over the pancake and the edges are no longer wet, flip it over and cook for an additional minute.
- Remove the cooked pancakes from the pan and place them on a plate. Cover them with a damp towel or cling wrap to prevent them from drying out. Repeat this process until all the pancakes are cooked. Remember to gently fold the batter before frying each new pancake to ensure an even distribution.
- Assemble the Dora Cakes by sandwiching two pancakes together with Anko paste (the sweet red bean filling). Add a bit more red bean paste in the center to form a mound, making the center thicker than the edges.
- Wrap the pancakes with plastic wrap and keep them covered until you're ready to serve.
Notes
- Precision is key, so I highly recommend using a scale to weigh all ingredients.
- Avoid preparing a large batch of batter; I suggest working with just two eggs at a time. The pancakes rise thanks to the whipped egg whites and baking soda, and letting the batter sit for too long could cause the bubbles in the egg whites to collapse and the baking soda to lose its effectiveness.
- Carefully combine the whipped egg whites with the batter mixture. Don’t overbeat or underbeat the egg whites, as this can impact your pancakes’ texture.
- Maintaining the right temperature is crucial. Ensure your pan isn’t too hot or too cold. If it’s too hot, consider adding a teaspoon of water to cool it down.
- When dropping the batter onto the pan, aim for a distance of approximately 10 cm (4 inches) to achieve evenly round pancakes.
- If you have a high-quality nonstick pan, there’s no need for cooking oil when frying your pancakes.


